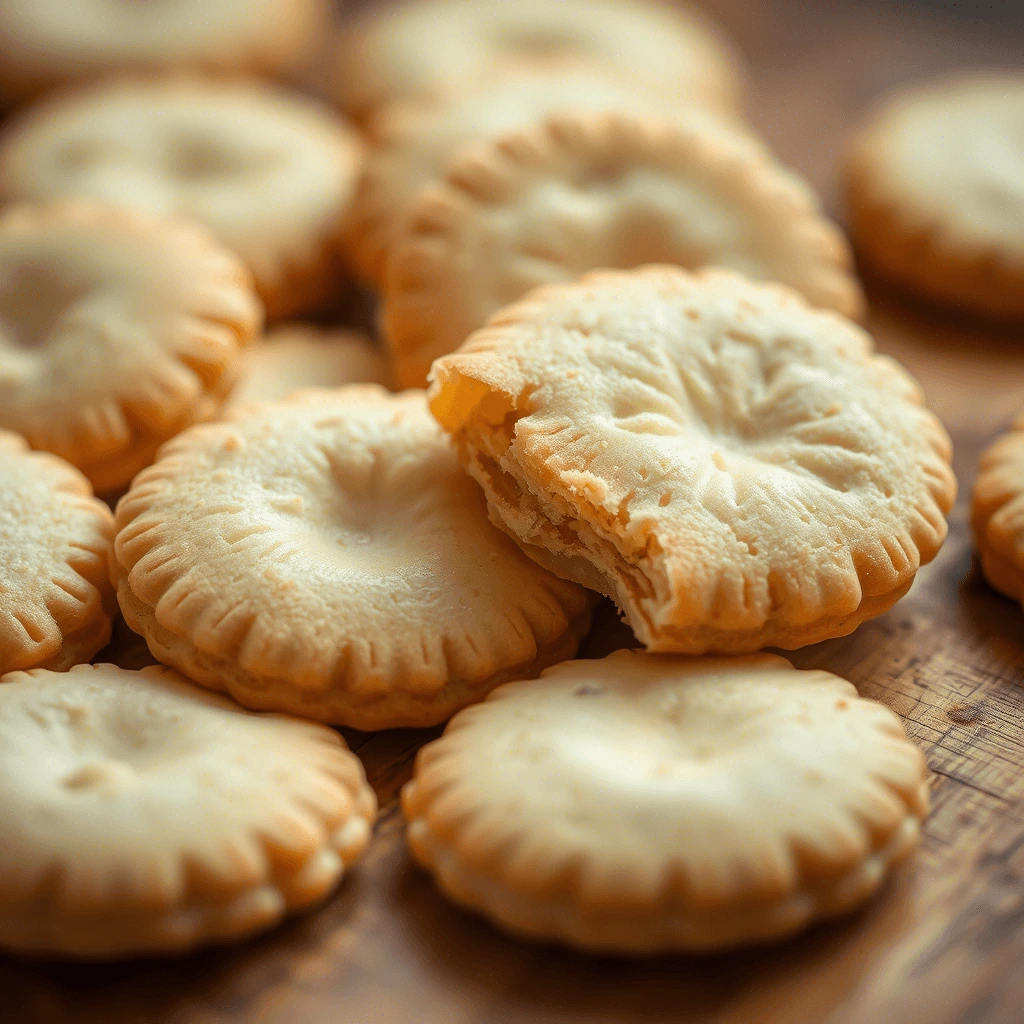
There’s something irresistibly nostalgic about wafer cookies—those thin, crispy layers with just the right touch of sweetness. Whether you remember them from childhood lunchboxes, tucked next to a sandwich and juice box, or as the perfect companion to an afternoon coffee, wafer cookies are a simple pleasure that never goes out of style.
What makes these cookies so special is their airy crunch, subtle sweetness, and melt-in-your-mouth texture. While you can easily find them on grocery store shelves, nothing compares to the flavor and freshness of homemade wafer cookies. Plus, making them from scratch allows you to customize everything—from the flavor (think vanilla, chocolate, or hazelnut) to the filling (creamy, fruity, or even dipped in chocolate).
In this post, we’ll walk you through how to make the best wafer cookies at home. We’ll cover everything from the basic ingredients and tools you’ll need to the secrets behind that perfectly crisp texture. Whether you’re a baking pro or just starting out, you’ll love how easy and fun it is to create these light and crispy cookies in your own kitchen.
Ready to impress your family and friends with a sweet treat that looks fancy but is surprisingly simple to make? Let’s dive in!
What Makes Wafer Cookies So Special?
Wafer Cookies vs Other Cookies
When you think of cookies, the first image that comes to mind is probably a soft, chewy chocolate chip cookie or maybe a thick, buttery sugar cookie. But wafer cookies are a whole different kind of treat—and that’s what makes them so special.
Unlike traditional cookies that rely on a dense dough and rise as they bake, wafer cookies are known for their thin, crisp layers and ultra-light texture. They aren’t meant to be gooey or cakey—instead, they’re engineered for crunch. Their structure comes from thin batter or dough that’s either baked between metal plates (like in a wafer iron) or spread very thinly on baking sheets to achieve that delicate crisp.
Another major difference is in how they’re used. While classic cookies are often eaten on their own, wafer cookies frequently play a supporting role in desserts. They’re the base for ice cream sandwiches, the layers in European-style cream-filled treats, and the crunchy component in popular chocolate-covered snacks like KitKat or Napolitan wafers.
Here’s a quick comparison to highlight the differences:
| Feature | Wafer Cookies | Traditional Cookies |
|---|---|---|
| Texture | Thin, crispy, light | Thick, soft, chewy or crumbly |
| Typical Use | Standalone or layered with filling | Standalone dessert/snack |
| Ingredients | Simple: flour, sugar, eggs, butter | Often includes add-ins like chocolate chips, nuts, etc. |
| Baking Method | Very thin baking, sometimes pressed | Scooped or rolled dough |
| Common Flavors | Vanilla, chocolate, hazelnut | Chocolate chip, oatmeal, peanut butter |
Because of their unique texture and versatility, wafer cookies offer something that many other cookies don’t—they can be delicate and elegant, perfect for pairing with tea or dressing up a dessert tray. And when you make them at home, you can experiment with fillings, flavorings, and even create layered cookie bars that feel both retro and refined.
So if you’re craving something a little lighter, a little crunchier, and endlessly customizable, wafer cookies might just become your new favorite.
A Brief Look at Their Origins & Popular Brands
Wafer cookies may seem like a modern snack, but their roots go back centuries. The concept of thin, crisp baked goods originated in medieval Europe, where early versions were cooked on decorative irons over open flames. These primitive wafers were often simple—made with flour and water—and served as ceremonial or religious treats, much like communion wafers.
As baking technology evolved, so did the wafer cookie. In the 19th century, wafers became more refined and were often flavored with vanilla or spices and enjoyed as light tea-time snacks. Countries like Austria, Germany, and Italy embraced them as part of their dessert culture, especially in layered formats with rich cream or chocolate fillings.
The popularity of wafer cookies exploded in the 20th century thanks to industrial baking and packaging innovations. This allowed them to become a convenient, shelf-stable snack enjoyed around the world.
Popular Wafer Cookie Brands You Might Recognize
- KitKat (Nestlé) – One of the most iconic examples, KitKat bars are chocolate-covered wafer cookies with a satisfying crunch. Their global presence has made the wafer texture instantly recognizable.
- Loacker (Italy) – Famous for their crisp vanilla and hazelnut cream-filled wafers, Loacker offers a high-end take on traditional European wafer cookies, often made with natural ingredients and no preservatives.
- Keebler (USA) – Known for their budget-friendly wafer cookies in classic flavors like strawberry, vanilla, and chocolate. Often brightly colored and a hit with kids!
- Prince Polo (Poland) – A beloved Eastern European chocolate-covered wafer, combining thick layers and rich cocoa for a heartier bite.
- Napolitaner Wafers – Not a brand, but a traditional Austrian-style wafer cookie, often filled with hazelnut or vanilla cream and served with coffee.
These brands have helped turn wafer cookies into more than just a snack—they’re now a beloved part of global dessert culture. Whether you enjoy them filled, dipped in chocolate, or served alongside a scoop of ice cream, wafer cookies bring a satisfying balance of texture and flavor that few other treats can match.
Popular Flavors and Variations
One of the best things about wafer cookies is their incredible versatility. While the classic vanilla-filled variety remains a favorite, there are countless flavors and variations that cater to every taste and occasion—from sweet and fruity to bold and chocolatey. Whether you’re making wafer cookies at home or browsing the snack aisle, here are some popular flavor combinations and creative twists worth trying.
Classic Vanilla Wafer Cookies
Simple yet timeless, vanilla is the most traditional wafer cookie flavor. The light vanilla cream filling pairs beautifully with the delicate crunch of the wafer layers, making it a go-to choice for all ages. It’s also the most popular base flavor when making homemade wafer cookies, thanks to its mild and crowd-pleasing taste.
Chocolate-Dipped and Chocolate-Filled Wafer Cookies
For chocolate lovers, there’s no shortage of indulgent options. Some versions include chocolate cream fillings, while others take things a step further by dipping or coating the entire cookie in melted chocolate. Chocolate wafer cookies are especially popular in brands like KitKat, which uses layers of crispy wafers surrounded by rich chocolate for that signature bite.
Fruity Flavors: Strawberry, Lemon, Raspberry
Fruit-flavored wafer cookies add a fun and colorful twist to the classic. Strawberry is a nostalgic favorite, often found in childhood snack packs, while lemon or raspberry cream-filled wafers bring a tangy contrast to the sweet crunch. These bright flavors are ideal for spring and summer dessert trays—or even for themed party treats.
Nutty and Spiced Variations
Beyond the basics, wafer cookies can also feature hazelnut, almond, or even peanut butter fillings for a richer, more decadent experience. Popular in European brands like Loacker, hazelnut-filled wafers are smooth, creamy, and perfect with coffee. On the other hand, warm spices like cinnamon or nutmeg can be added to the wafer batter itself for a cozy, fall-inspired treat.
No-Bake & Ice Cream Wafer Sandwiches
Wafer cookies also shine in creative desserts like ice cream sandwiches, where they act as the perfect crisp layer between scoops of vanilla or chocolate ice cream. No-bake versions of wafer cookie treats—like layer bars or wafer cookie cakes—use store-bought wafers stacked with whipped cream or pudding, chilled to perfection.
Ingredients & Tools You’ll Need
Basic Ingredients for Homemade Wafer Cookies
Making wafer cookies at home is easier than you might think—and it all starts with a handful of simple, pantry-friendly ingredients. While the exact recipe can vary depending on flavor and style, most homemade wafer cookie recipes follow a basic formula that results in that signature light, crispy texture.
Here’s a breakdown of the essential ingredients you’ll need to get started:
All-Purpose Flour
Flour is the structural backbone of your wafer cookies. It provides the necessary body and crispness once baked. For the best texture, use sifted all-purpose flour to ensure a smooth, lump-free batter. Some bakers also experiment with cornstarch or rice flour to create an even lighter finish.
Eggs
Eggs act as both a binder and a texture enhancer. They help the batter hold together while contributing to that delicate crunch. Usually, just one or two eggs are enough for a standard batch. Egg whites can also be used alone if you’re aiming for an extra crisp, almost meringue-like wafer.
Butter or Oil
A small amount of melted butter (or sometimes vegetable oil) adds richness and helps the wafers brown evenly in the oven. Butter is the traditional choice, giving wafer cookies a subtle, savory depth that balances the sweetness.
Sugar
Wafer cookies aren’t overly sweet, but a bit of granulated sugar is necessary for taste and caramelization. You can also experiment with confectioner’s sugar for a smoother texture, or use brown sugar if you’re going for a slightly richer flavor.
Vanilla Extract (or Other Flavorings)
A dash of vanilla extract is classic for wafer cookies, giving them that warm, familiar aroma. You can also add other extracts like almond, lemon, or hazelnut to match your filling or personal preference.
Milk or Water (Optional)
Some recipes include a small amount of liquid to loosen the batter. Milk adds creaminess, while water can be used for a more neutral base. Be careful not to overdo it—too much liquid can make the batter difficult to spread thinly.
Bonus: Optional Add-Ins for Creative Variations
- Cocoa powder – For a chocolate wafer base
- Cinnamon or nutmeg – For warm, spiced notes
- Crushed nuts – For a nutty twist
- Food coloring – For festive or fruity versions (e.g. pink strawberry wafers)
Optional Add-ins for Flavored Wafer Cookies
Once you’ve mastered the classic wafer cookie recipe, the real fun begins—customizing your cookies with flavorful add-ins! These optional ingredients can be mixed into the batter, layered in fillings, or sprinkled on top to create unique and delicious variations. Whether you want to add a seasonal twist, enhance texture, or simply experiment with flavor, these wafer cookie add-ins will take your homemade treats to the next level.
Cocoa Powder or Melted Chocolate
For a rich chocolate base, simply add unsweetened cocoa powder to the batter. This transforms your classic vanilla wafer into a deep, chocolatey treat that pairs perfectly with fillings like hazelnut cream, peanut butter, or even marshmallow fluff. You can also swirl in melted dark or milk chocolate for a marbled effect or drizzle it on top for a more decadent finish.
Fruit Zest or Extracts
Infusing the batter with lemon zest, orange peel, or fruit-flavored extracts (like strawberry or raspberry) adds a bright, refreshing kick to your wafers. These fruity notes are ideal for spring and summer cookies, and they pair beautifully with vanilla cream or white chocolate filling. If you’re going for something festive, consider tinting the batter with natural food coloring to match the flavor.
Spices for Warmth and Depth
Spices like cinnamon, nutmeg, ginger, or even a pinch of clove can warm up your wafer cookies, giving them a cozy, holiday-inspired flavor. These are especially lovely when served with coffee or tea, or used in layered desserts during the fall and winter months.
Crushed Nuts or Nut Butters
Add a nutty crunch by mixing in finely chopped hazelnuts, almonds, or pecans. Alternatively, swirl a bit of peanut butter or almond butter into your batter or filling for added richness. These ingredients work well in both sweet and slightly salty variations of wafer cookies.
Shredded Coconut
If you’re aiming for a tropical flair, stir in a small amount of unsweetened shredded coconut. It adds texture and a hint of sweetness without overpowering the delicate wafer base. Coconut pairs beautifully with vanilla, pineapple, or mango-flavored fillings.
Sprinkles, Seeds, or Decorative Toppings
For visual appeal and a hint of crunch, sprinkle poppy seeds, sesame seeds, or colored sprinkles onto the batter before baking. This is especially fun when making wafers for parties or kids’ treats. You can also use edible glitter, crushed freeze-dried fruit, or a light dusting of powdered sugar for a finished look.
Quick Tip:
When adding new ingredients to your wafer batter, keep the amounts small to maintain the thin, crisp texture. Most add-ins should be finely ground, sifted, or evenly distributed to avoid disrupting the delicate consistency of the cookie.
Essential Kitchen Tools
Making wafer cookies at home doesn’t require a full bakery setup, but having the right tools can make the process easier, more precise, and way more enjoyable. From achieving those perfectly thin layers to ensuring even baking, here’s a list of essential kitchen tools you’ll want to have on hand when making homemade wafer cookies.
Offset Spatula or Silicone Spreader
One of the keys to getting that signature crisp texture is spreading your batter or dough thin and evenly. An offset spatula or silicone spreader is perfect for this job. It helps distribute the batter smoothly across the surface of your baking sheet or waffle iron without tearing or overworking it.
Baking Sheets or Cookie Trays
If you’re baking wafers in the oven (rather than using a specialty iron), flat, rimless baking sheets are ideal. They allow for even spreading and easy removal. Silicone baking mats or parchment paper also help prevent sticking and keep the bottoms from browning too quickly.
Wafer Iron or Pizzelle Press (Optional but Awesome)
For authentic European-style wafer cookies, a wafer iron (similar to a waffle cone maker) is a game changer. These irons press the batter into ultra-thin, patterned wafers with that classic look and texture. A pizzelle maker can also be used in a pinch for a more decorative twist.
Mixing Bowls and Measuring Tools
A basic but crucial setup: you’ll need a few mixing bowls in various sizes for your dry and wet ingredients. Make sure you have accurate measuring cups and spoons, or a digital kitchen scale, especially if you want consistent results and are baking in larger batches.
Cooling Racks
Wafer cookies should cool quickly after baking to firm up and maintain their crispiness. A wire cooling rack allows air to circulate around each cookie and prevents sogginess from residual heat on the baking tray.
Sharp Knife or Kitchen Shears
If you’re baking a sheet of wafer cookie and plan to cut it into shapes or squares, a sharp knife or kitchen shears will give you clean edges. For layered or filled wafer bars, this tool is especially helpful in creating tidy, photo-worthy slices.
Piping Bag or Ziplock Bag (For Fillings)
When you’re ready to add cream, jam, or chocolate filling between layers, a piping bag helps keep things neat and uniform. No piping tips? No problem—a snipped corner of a ziplock bag works just as well!
Bonus Tools for Wafer Lovers:
- Rolling pin – For flattening dough-based versions
- Pastry brush – Useful for applying a thin glaze or syrup layer
- Food processor – Great for mixing nut-based fillings or smoothing batters
- Storage tins or airtight containers – For keeping wafer cookies fresh and crisp
Having these tools on hand makes it much easier to create crispy, light, and evenly baked wafer cookies—whether you’re going for the classic look or adding your own creative flair. With the right setup, your kitchen becomes the perfect space to experiment, layer, and enjoy one of the most satisfying homemade treats around.
Step-by-Step: How to Make Crispy Wafer Cookies at Home
Preparing the Wafer Cookie Dough
The secret to crispy and light wafer cookies lies in the preparation of the dough. Unlike traditional cookie doughs, wafer cookie dough is typically thin, smooth, and almost batter-like in consistency. It needs to spread easily and bake evenly to achieve those delicately crisp layers we all love.
Here’s a step-by-step guide to preparing the perfect wafer cookie dough at home, along with a few pro tips to make the process simple and successful.
Step 1: Gather Your Ingredients
Start by assembling your ingredients (many of which you probably already have on hand). The basic recipe typically includes:
- All-purpose flour (sifted)
- Eggs (room temperature)
- Butter (melted and slightly cooled)
- Granulated sugar
- Vanilla extract (or your chosen flavoring)
- Milk or water (optional, to thin out the batter)
Optional add-ins like cocoa powder, spices, or citrus zest can also be mixed in at this stage.
Step 2: Mix the Wet Ingredients
In a large mixing bowl, whisk together the eggs, melted butter, sugar, and vanilla extract until smooth and slightly frothy. This step ensures your wafer cookies will have an even flavor and light texture. If you’re using any liquid flavorings like almond or lemon extract, add them in now.
Pro tip: For extra fluffiness, whisk the eggs and sugar until the mixture becomes pale and airy—this incorporates more air into the dough.
Step 3: Combine Dry Ingredients
In a separate bowl, sift the flour to remove any lumps. This helps maintain the delicate texture of the wafers. If you’re adding cocoa powder or spices, whisk them into the flour at this stage to ensure even distribution.
Gradually add the dry ingredients into the wet mixture, stirring gently until just combined. You don’t want to overmix, as this can result in tough cookies.
Step 4: Adjust the Consistency
The final dough should be thin and pourable—almost like a pancake batter. If it’s too thick to spread easily, add a splash of milk or water a tablespoon at a time until the right consistency is reached.
Consistency check: It should fall off a spoon slowly in ribbons but still hold its shape slightly when spread.
Step 5: Rest the Dough (Optional but Recommended)
Letting the dough rest for 15–30 minutes (covered and at room temperature) allows the flour to fully hydrate and the flavors to meld. It also helps reduce air bubbles, giving your wafer cookies a smoother, more uniform surface.
With your dough ready, you’re all set for baking—whether you’re using a traditional oven, wafer iron, or pizzelle press. Remember, the thinner you spread the dough, the crispier the final cookie will be!
Baking and Shaping the Wafers
Once your wafer cookie dough is ready, it’s time to bring it to life in the oven (or on the iron) and shape those delicate, crispy layers that make wafer cookies so irresistible. This step is all about precision, patience, and knowing a few expert tricks to get the perfect thin, golden-brown wafer every time.
Step 1: Preheat and Prep
Start by preheating your oven to 325–350°F (160–175°C) depending on your recipe. Lower temperatures work best for wafers, as they allow the thin layers to dry out and crisp up without burning.
Prep your baking surface:
- Use parchment paper or a silicone baking mat to prevent sticking.
- If you’re using a wafer iron or pizzelle press, preheat it and lightly grease the surface with oil or nonstick spray.
Step 2: Spread the Dough Thin
Wafer cookie dough needs to be spread very thin—that’s what gives the cookie its light, crisp texture. Use an offset spatula or the back of a spoon to spread about a tablespoon of batter into a thin layer (about 1–2 mm thick) on the prepared sheet.
You can spread into:
- Rectangles or squares for classic sandwich wafers
- Rounds for pizzelle-style cookies
- Free-form shapes for fun or layered desserts
Pro tip: Work quickly! The batter spreads best when it’s freshly mixed and hasn’t thickened from sitting too long.
Step 3: Bake to Perfection
Bake for 7–10 minutes or until the edges turn golden brown and the surface looks dry and lightly crisped. Keep an eye on them—wafer cookies can go from perfectly done to overbaked in seconds!
If using a wafer iron or pizzelle press:
- Cook for 30–90 seconds, depending on your device.
- Watch for steam reduction as a signal they’re done.
- The wafers will be soft when they come out but crisp up as they cool.
Step 4: Shape While Warm (Optional)
If you want to get creative with the shape of your wafers, now’s the time! Right after baking (when the cookies are still soft and pliable), you can:
- Roll them into tubes or cigars (for filling with cream)
- Fold them into triangles or fans
- Cut them into perfect squares, strips, or circles using a sharp knife or cookie cutter
Just move quickly—wafer cookies firm up fast once they begin to cool.
Step 5: Cool Completely
Transfer your wafers to a wire rack to cool. This is crucial! As they cool, they lose moisture and become perfectly crisp. Don’t stack or layer them while still warm—they can steam each other and lose their crunch.
Bonus Tips:
- For sandwich cookies, bake pairs of identical shapes so they stack cleanly.
- If your wafers feel soft after cooling, you can return them to the oven for 1–2 minutes to re-crisp.
- Want a glazed finish? Brush with a thin sugar syrup or dip the edges in chocolate after cooling.
With a little care and attention, your homemade wafer cookies will come out light, crispy, and beautifully shaped—ready for filling, layering, or enjoying on their own. This is where your creativity as a home baker really shines!
Cooling, Filling & Storing
Once your wafer cookies are baked to crispy perfection, the final steps—cooling, filling, and storing—are just as important as the baking process itself. These finishing touches determine how your wafers hold up in texture, taste, and presentation. Whether you’re stacking them into sandwich cookies, building layered bars, or storing them for later snacking, this step-by-step guide will help you get it just right.
Step 1: Cooling the Wafer Cookies
Fresh out of the oven (or off the iron), wafer cookies are soft and fragile. Don’t worry—this is totally normal. As they cool, they firm up and develop that light, crisp texture we love.
How to cool them properly:
- Gently transfer each cookie onto a wire cooling rack using a spatula.
- Allow at least 10–15 minutes for them to cool completely before stacking or filling.
- Avoid cooling on the baking tray, as trapped heat can make them soggy.
Pro tip: If you want to shape or roll the wafers, do so within the first 30 seconds of removing them from the heat—before they firm up.
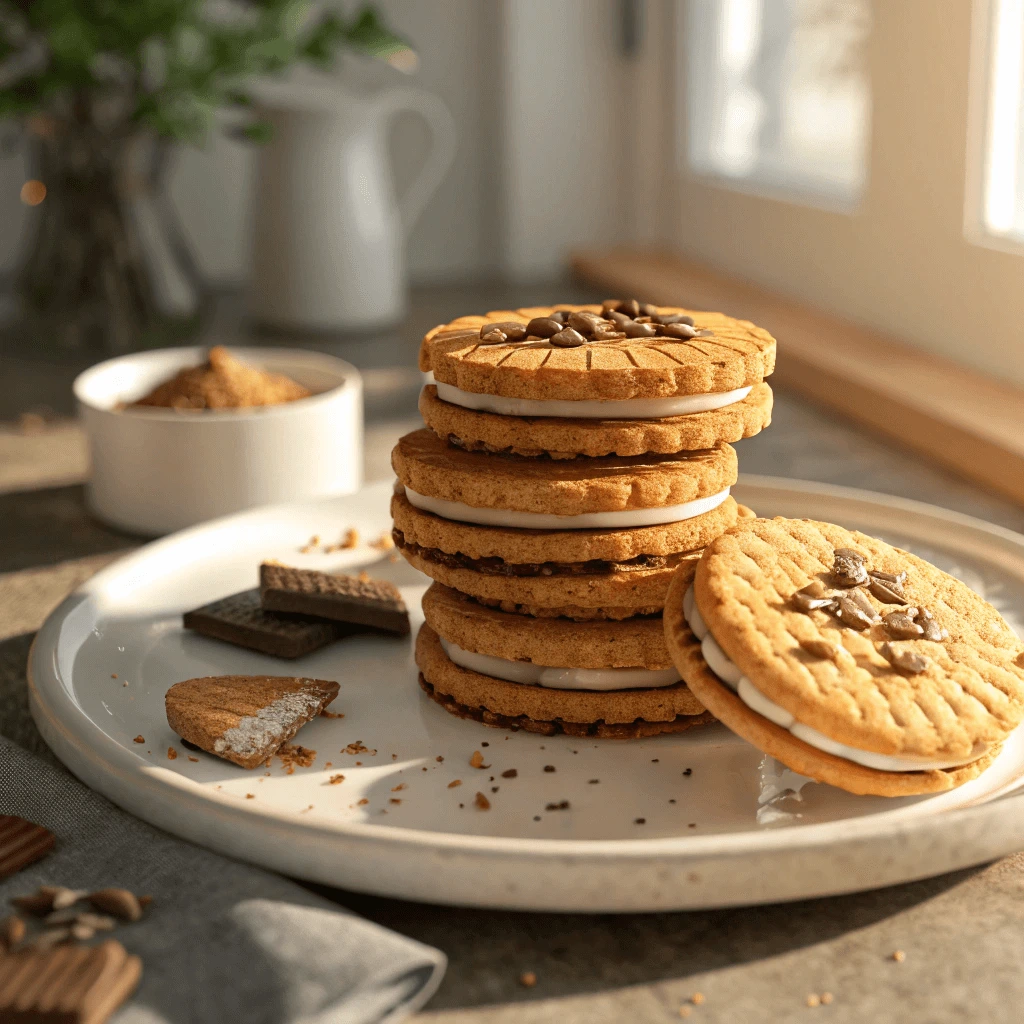
Step 2: Filling the Wafers
Once completely cooled, your wafer cookies are ready for fillings! This is where flavor and creativity come to life. Choose from a variety of delicious options depending on your style or theme.
Popular wafer cookie fillings include:
- Chocolate ganache or melted chocolate
- Vanilla buttercream or pastry cream
- Nut spreads like hazelnut or almond cream
- Fruit jams (strawberry, raspberry, apricot)
- Caramel, dulce de leche, or condensed milk
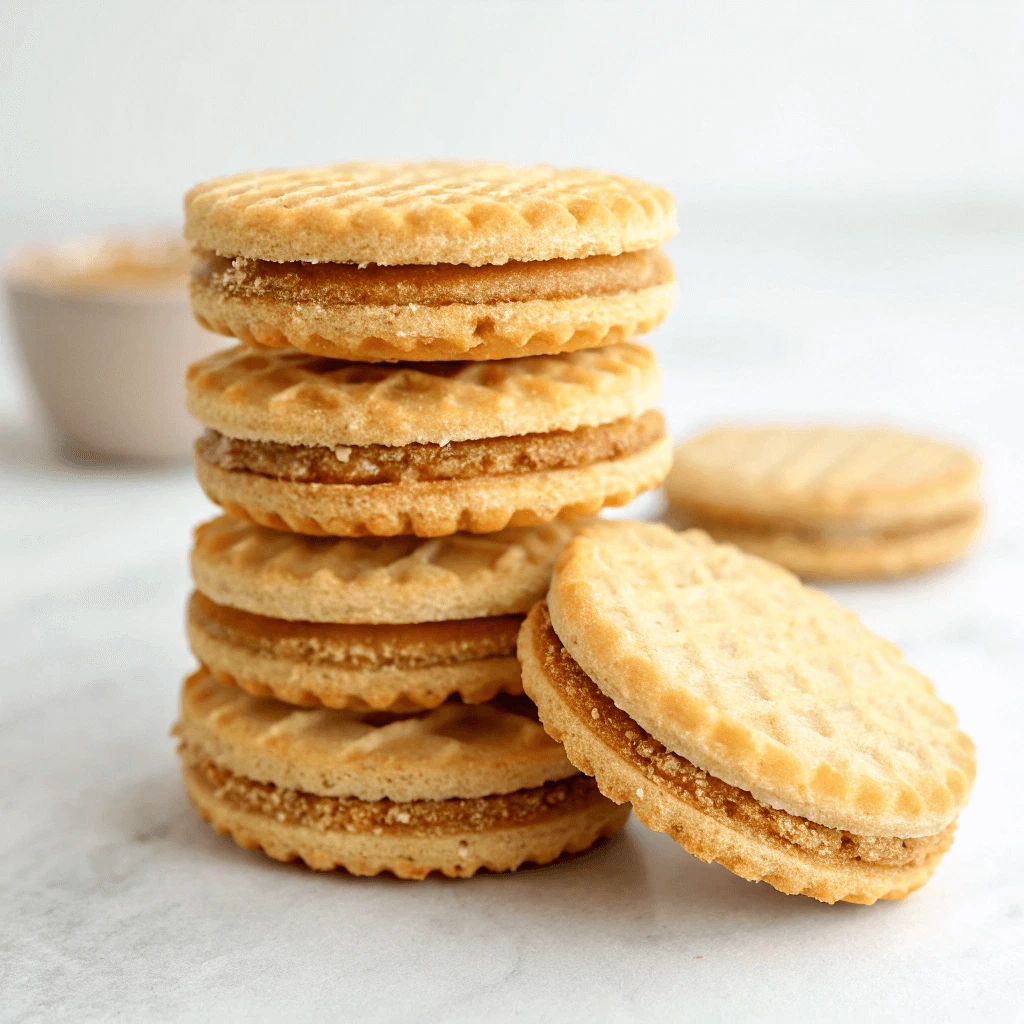
To apply the filling:
- Use a piping bag or a spoon to spread an even layer onto one cookie.
- Top with a second wafer and press lightly to set.
- Let the filled wafers rest in the fridge for 15–20 minutes if needed, so the filling firms up and doesn’t ooze when you stack or store them.
Optional: Dip edges in melted chocolate or roll in crushed nuts or sprinkles for an extra-fancy finish!
Step 3: Storing Wafer Cookies
Whether plain or filled, proper storage is key to keeping your wafer cookies fresh, crisp, and delicious.
For plain wafers:
- Store in an airtight container at room temperature.
- Keep them in a cool, dry place away from humidity.
- They’ll stay crispy for up to 1 week, though best enjoyed within 2–3 days.
For filled wafer cookies:
- Store in the refrigerator in a single layer or separated by parchment paper.
- They’ll last 3–5 days, depending on the filling used.
- Bring to room temperature before serving for the best flavor and texture.
Pro tip: If wafers start to lose their crispness, pop them into a low oven (250°F/120°C) for a few minutes to refresh them—just be sure not to reheat filled ones!
Bonus Storage Idea:
If you’re making wafer cookie sandwiches in bulk (for parties, holidays, or gifts), wrap each one in wax paper and tie with string for a cute, mess-free presentation.
With proper cooling, filling, and storing, your wafer cookies will not only look bakery-worthy but taste amazing too—crispy on the outside, creamy or gooey on the inside, and always full of flavor. This final step is where your hard work pays off and your cookies shine!
Conclusion: Crispy, Light, and Made with Love
Homemade wafer cookies are more than just a nostalgic treat — they’re a creative, crispy canvas for all kinds of delicious flavors and textures. From their delicate crunch to the endless filling possibilities, these cookies are a perfect way to impress guests, treat your family, or enjoy a quiet baking moment for yourself.
With just a few simple tools, basic ingredients, and a bit of practice, you can master the art of making crispy and light wafer cookies at home. Whether you go classic with vanilla and chocolate, or experiment with bold flavors like hazelnut or citrus, the results are always rewarding.
So go ahead — bake, layer, share (or keep them all for yourself). Because when it comes to wafer cookies, it’s hard to stop at just one!
Pro Tip Box: Wafer Cookie Wisdom
- Thinner = Crispier: The thinner you spread the dough, the lighter and crispier the result. Aim for 1–2 mm.
- Shape While Warm: Want to roll or fold your wafers? Do it within 20–30 seconds of baking.
- Flavor Smart: Balance sweet fillings with subtle spices or citrus zest in the dough.
- Re-Crisping Hack: If cookies go soft, pop them in a low oven (250°F) for 3–5 minutes.
- Storage Matters: Keep plain wafers in an airtight container. Refrigerate filled ones.