There’s nothing quite like a refreshing ice cream scoop on a hot summer day. Whether you’re lounging by the pool, hosting a backyard BBQ, or just cooling off after a long day, the right scoop of ice cream can turn any moment into a treat. But what if you could go beyond the store-bought pint and create your own creamy, delicious version at home? In this post, we’ll share the best ice cream scoop recipe for summer treats—simple to make, full of flavor, and perfect for scooping into cones, bowls, or straight from the tub. Grab your favorite scoop and let’s dive into a frozen dessert that’s as fun to make as it is to eat!
Why the Perfect Ice Cream Scoop Matters
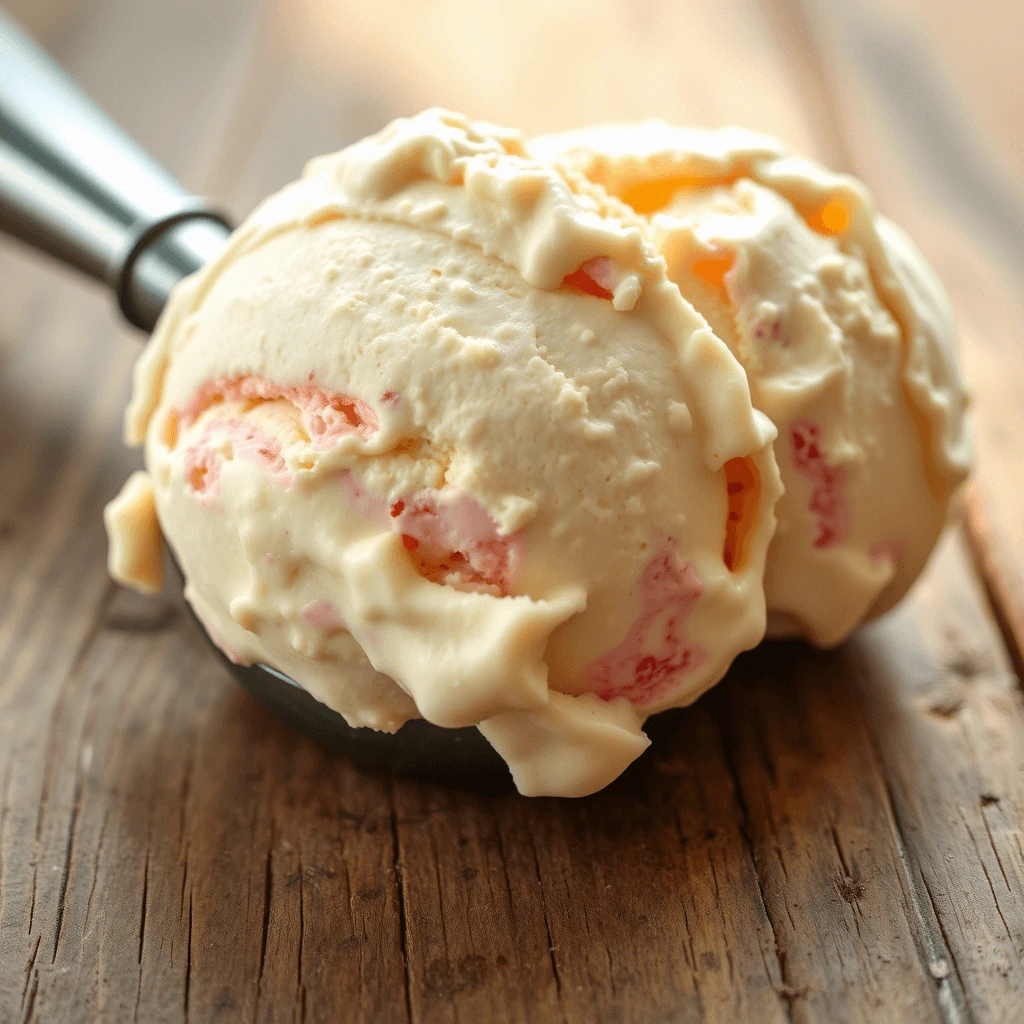
Scooping for Texture & Presentation
When it comes to serving ice cream, texture and presentation go hand in hand. A smooth, well-formed ice cream scoop not only enhances the visual appeal but also provides a better mouthfeel, which is key to a satisfying dessert experience. The way you scoop can make your ice cream look professional—even if it’s homemade.
Start by letting your ice cream sit at room temperature for 3–5 minutes after removing it from the freezer. This slight softening helps you achieve a clean, rounded scoop without cracks or jagged edges. Use a high-quality ice cream scoop with a curved edge and a sturdy handle; avoid basic spoons, as they tend to create uneven, messy servings.
For extra flair, dip your scoop in warm water between servings. This trick allows the scoop to glide smoothly through the ice cream, giving you those picture-perfect, café-style spheres. Whether you’re filling cones, bowls, or building an ice cream sundae, taking the time to scoop properly will elevate your dessert’s texture, taste, and overall presentation—turning an everyday treat into a summer showstopper.
Choosing the Right Scoop Tool
Not all scoops are created equal—and choosing the right ice cream scoop can make all the difference between frustration and flawless serving. If you’ve ever battled with rock-hard ice cream or ended up with misshapen blobs instead of perfect spheres, chances are the tool was to blame.
Start by looking for a scoop that’s sturdy and ergonomic. A scoop with a solid handle (preferably non-slip or cushioned) will give you better control and reduce strain on your wrist—especially if you’re serving multiple people or dealing with frozen-solid pints. Spring-loaded scoops, which feature a trigger-release mechanism, are great for consistent portioning and work especially well with softer, no-churn recipes.
Another great option is a spade-style scoop, which looks more like a flat paddle. These are ideal for digging into harder ice cream without bending or breaking. Some advanced scoop designs even include heat-conductive materials like liquid-filled handles that warm up with your hand’s natural heat—making it easier to glide through tough ice cream straight from the freezer.
Don’t forget: the right scoop isn’t just about function—it’s also about form. A quality scoop will help you create beautiful, round servings that look professional whether you’re filling cones, dessert bowls, or building an Instagram-worthy sundae. If you take your ice cream seriously, investing in the right scoop tool is a small change that brings big results.
Temperature Tricks for Easier Scooping
One of the most common challenges when serving ice cream is dealing with the rock-hard texture straight out of the freezer. But don’t worry—there are a few simple temperature tricks that can make your ice cream scoop glide like a dream and help you serve picture-perfect scoops every time.
1. Let the Ice Cream Sit Briefly
Before you even touch your scoop, take the container out of the freezer and let it sit on the counter for 3 to 5 minutes. This softens the edges just enough to make scooping easier without causing the entire pint to melt. Avoid microwaving—it can cause uneven melting and ruin the texture.
2. Dip Your Scoop in Warm Water
Professional scoopers swear by this trick! Fill a cup or bowl with warm water and dip your scoop into it before each use. The heat helps the scoop cut smoothly through the ice cream, preventing cracks and ragged edges. Just remember to shake off excess water to avoid watering down the flavor.
3. Store Your Scoop Smartly
Want to be ready at all times? Store your ice cream scoop in a container of warm water while serving multiple bowls. This keeps the scoop consistently warm between uses, saving you time and effort. Alternatively, some serious dessert lovers even keep a heat-conductive scoop in a drawer for just this purpose.
By using these temperature tips, you’ll not only make the process easier but also improve the texture and presentation of your dessert. Smooth, even scoops melt more consistently, look better in cones or bowls, and make your summer treats even more irresistible.
The Best Homemade Ice Cream Scoop Recipe
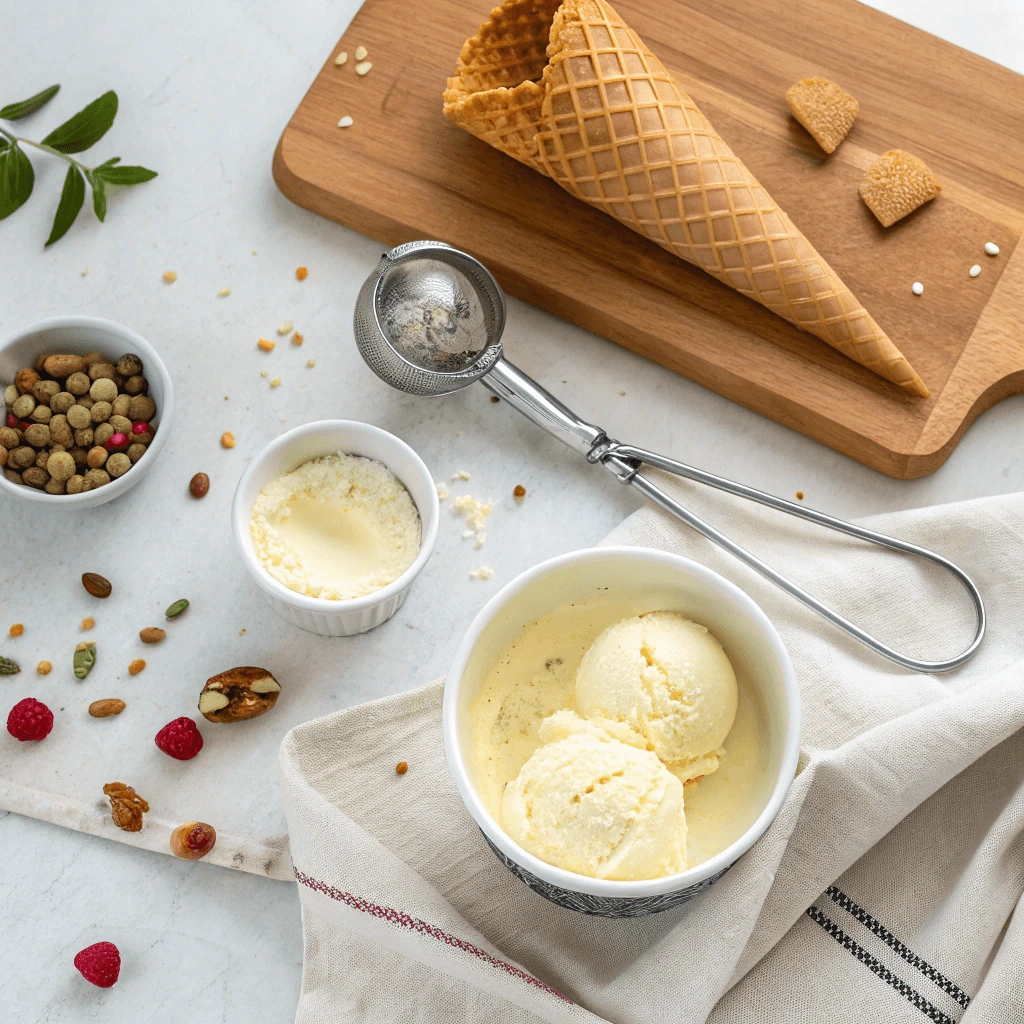
Ingredients You’ll Need
Creating the perfect ice cream scoop starts with the right ingredients. Whether you’re making a classic vanilla base or adding your own twist, using quality components ensures a creamy texture and rich flavor that rivals any store-bought treat. Here’s what you’ll need to make a simple, no-churn ice cream recipe at home:
1. Heavy Cream (2 cups)
Heavy cream is essential for achieving that rich, velvety texture. Its high fat content helps trap air when whipped, giving your ice cream a light, scoopable consistency that melts smoothly on the tongue.
2. Sweetened Condensed Milk (1 can – about 14 oz)
This ingredient acts as both a sweetener and a creamy binder. It eliminates the need for eggs and an ice cream maker while giving your base that luscious, slightly caramelized sweetness we all love.
3. Pure Vanilla Extract (1–2 teaspoons)
Vanilla isn’t just a flavor—it’s the foundation of many ice cream bases. Use pure vanilla extract (not imitation) to give your ice cream a warm, aromatic depth that complements mix-ins and toppings.
4. Pinch of Salt
A small amount of salt might seem unnecessary, but it enhances the sweetness and brings out the flavor complexity of your ice cream. Just a pinch is enough to balance the taste.
Optional Add-Ins & Variations:
- Fresh fruit like strawberries, mango, or blueberries
- Crushed cookies, brownies, or candy
- Swirls of caramel, fudge, or fruit jam
- Spices like cinnamon or cardamom for a unique twist
- Nuts for a crunchy texture (walnuts, pecans, pistachios)
These ingredients create a simple base that’s easy to customize for any summer occasion. Once prepared and frozen, your ice cream scoop will be ready to serve up smooth, satisfying sweetness in every bite.
Step-by-Step Instructions
Now that you’ve gathered all your ingredients, it’s time to make the magic happen. This no-churn ice cream scoop recipe is simple, quick, and doesn’t require an ice cream machine—perfect for beginners and pros alike. Follow these easy steps for a creamy, dreamy summer dessert:
Step 1: Whip the Cream to Soft Peaks
Pour the cold heavy cream into a large mixing bowl. Using a hand mixer or stand mixer, whip the cream on medium-high speed until soft peaks form. This means the cream should hold its shape when you lift the beaters, but still look smooth and silky. This step is key for creating the light, airy texture of scoopable ice cream.
Step 2: Fold in the Sweetened Condensed Milk
In a separate bowl, combine the sweetened condensed milk, vanilla extract, and a pinch of salt. Slowly fold this mixture into the whipped cream using a spatula. Be gentle—this helps retain the air you’ve just whipped in. Mix until fully incorporated, and your base is creamy and uniform.
Step 3: Add Flavor Mix-Ins (Optional)
At this stage, get creative! Gently fold in any toppings or mix-ins you love—like crushed cookies, caramel swirls, chocolate chips, or fruit. This is your chance to personalize the recipe and build your signature summer ice cream scoop.
Step 4: Transfer to a Container & Freeze
Spoon the mixture into a loaf pan or airtight container. Smooth the top with a spatula and cover with plastic wrap or a lid to prevent ice crystals. Freeze for at least 6 hours, or overnight for best results. The longer it chills, the firmer and easier it will be to scoop.
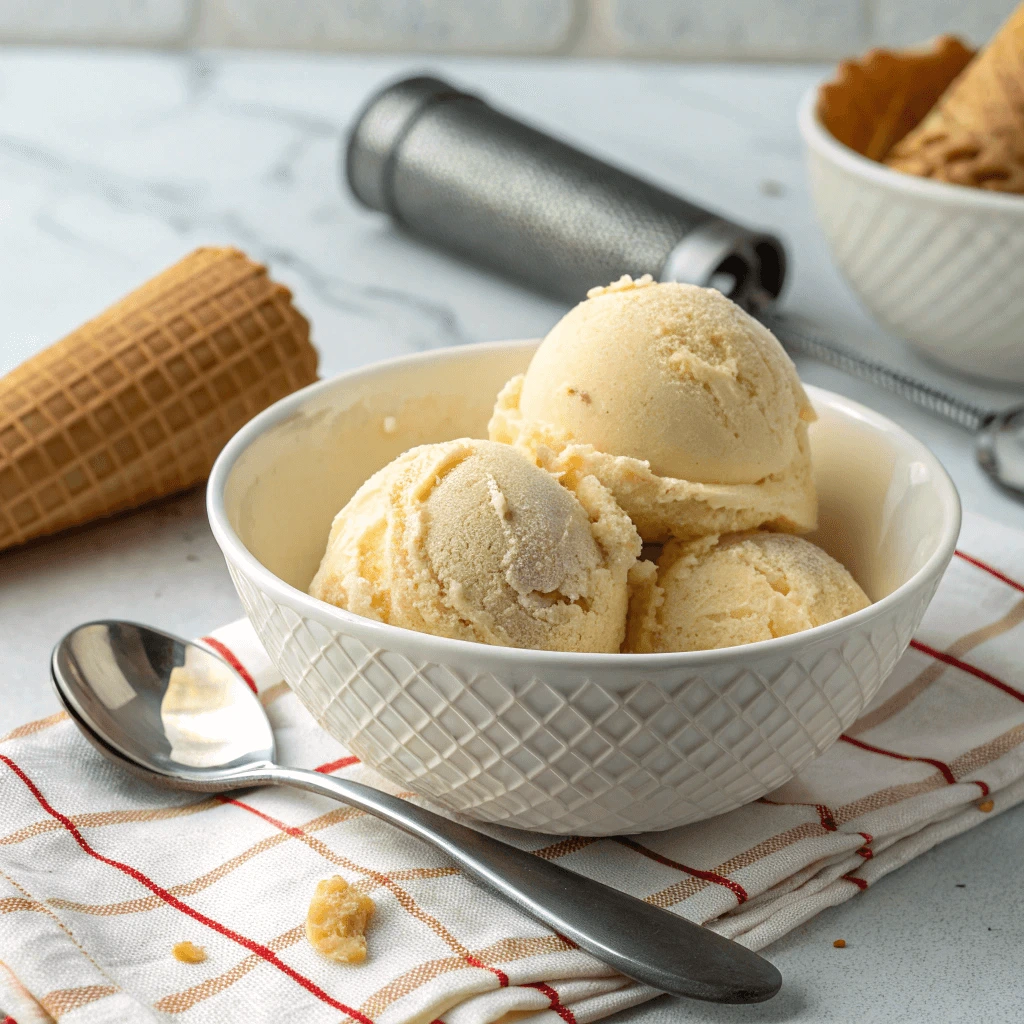
Step 5: Scoop & Serve
Once frozen, let the ice cream sit at room temperature for 3–5 minutes before scooping. Use a warm scoop (dipped in hot water) to get those perfectly round, creamy balls. Serve in cones, bowls, or straight from the tub—and enjoy the rich, velvety texture of your homemade ice cream scoop!
Flavor Variations to Try This Summer
One of the best things about making your own ice cream scoop at home is how easy it is to customize. With a simple base recipe, you can experiment with endless flavor combinations to suit your mood, the season, or your favorite cravings. Here are some delicious and creative ice cream flavor ideas to keep your summer extra cool and tasty:
1. Strawberry Shortcake Ice Cream
Add swirls of fresh strawberry puree and chunks of vanilla pound cake to your base. The bright, fruity flavor paired with soft cake pieces creates a nostalgic summer treat that tastes like dessert and ice cream in one bite.
Pro Tip: Macerate the strawberries with a little sugar and lemon juice to boost their flavor before folding them in.
2. Chocolate Hazelnut Crunch
Mix in chopped toasted hazelnuts, a fudge ripple, and bits of chocolate wafers or crushed Nutella cookies. This variation delivers a rich, nutty crunch with every creamy ice cream scoop—a decadent crowd-pleaser for chocolate lovers.
Optional Upgrade: Add a drizzle of hazelnut liqueur (like Frangelico) for an adult twist.
3. Tropical Mango Coconut Swirl
Blend mango puree into your base and add shredded coconut or a coconut milk swirl. This flavor transports you to the beach with every spoonful—perfect for hot summer days when you want something fruity and refreshing.
Bonus Tip: Top with toasted coconut flakes for added texture and presentation.
4. Mint Chocolate Chip
Add peppermint extract and mini chocolate chips to your mix for a refreshing classic. For a natural touch, steep fresh mint leaves in the cream beforehand and strain before whipping. This version is cool, creamy, and always a hit at summer gatherings.
5. S’mores Ice Cream
Fold in crushed graham crackers, mini marshmallows, and swirls of chocolate sauce. It’s like campfire s’mores in frozen form—ideal for backyard barbecues or late-night treats by the firepit.
6. Coffee Caramel Swirl
Stir in instant espresso powder or strong cold brew and add caramel ribbons for a bold, sweet, and slightly salty ice cream experience. It’s the perfect afternoon pick-me-up, combining caffeine and dessert in one scoop.
With just a few simple additions, you can transform your homemade base into a gourmet summer scoop that rivals any ice cream shop. Don’t be afraid to get creative—seasonal fruits, herbs, spices, and even breakfast cereals can lead to surprisingly delicious results!
Tips for Serving Ice Cream Like a Pro
How to Get the Perfect Scoop Every Time
There’s something truly satisfying about achieving that perfectly round ice cream scoop—smooth, symmetrical, and ready to top your favorite cone or dessert. While it may seem like an art reserved for professionals, getting the ideal scoop is actually easy once you know a few key tips and tricks. Here’s how to do it like a pro, every single time:
1. Start with the Right Temperature
The ideal scooping temperature for ice cream is around 6°F to 10°F (-14°C to -12°C). That’s just soft enough for your scoop to glide through the ice cream without melting it. To reach this texture, let your container sit at room temperature for 3 to 5 minutes after taking it out of the freezer. Avoid microwaving, as it creates uneven thawing and can ruin the creamy consistency.
2. Use a Warm Scoop for Clean Rounds
Before you begin scooping, dip your ice cream scoop into warm water and shake off any excess. The heat helps the scoop slice through the ice cream cleanly, reducing cracks and jagged edges. This technique is especially helpful for dense or chunky flavors.
👉 Pro Tip: Keep a bowl of warm water nearby so you can dip and clean your scoop between servings.
3. Scoop in an “S” or Spiral Motion
Don’t dig straight down! For the best results, scoop in a circular, S-like motion, starting at the edge of the container and working your way in. This method gathers more surface area, helps create even pressure, and forms a smoother, rounded ball of ice cream.
4. Choose the Right Scoop Tool
A spring-loaded scoop or trigger release scoop is ideal for home use. These tools help release the ice cream easily into bowls or cones, giving you consistent portions every time. Look for ones made of stainless steel or with a non-stick coating for durability and ease of cleaning.
5. Store and Serve Smart
After scooping, serve immediately for the best texture and appearance. If you’re making multiple servings in advance, place scoops on a chilled tray lined with parchment paper and freeze briefly—this helps them hold their shape until ready to serve.
By following these simple tips, your ice cream scoop will not only taste amazing, but it will also look picture-perfect—making your homemade desserts every bit as beautiful as they are delicious.
Creative Ways to Serve Your Ice Cream
Once you’ve perfected your homemade ice cream scoop, it’s time to elevate your presentation. Ice cream isn’t just a dessert—it’s an experience. Whether you’re serving guests or just indulging at home, these creative serving ideas will make your scoops look as good as they taste.
1. Classic Cones with a Twist
Nothing beats the nostalgic joy of ice cream in a cone—but you can take it to the next level! Try dipping the rims of waffle cones in melted chocolate and rolling them in chopped nuts, rainbow sprinkles, crushed cookies, or shredded coconut. Let them harden before scooping in your favorite flavor for a festive and flavorful crunch in every bite.
👉 Tip: Store-decorated cones in an airtight container to keep them fresh and party-ready.
2. Mason Jar Sundaes
Layer your ice cream scoop with sauces (like fudge, caramel, or berry compote), whipped cream, and toppings in a mason jar for a portable, Instagram-worthy dessert. This method is perfect for picnics, parties, or make-ahead treats. You can even customize flavors by layering different types of ice cream for a striped effect.
3. Ice Cream Sandwiches
Create homemade ice cream sandwiches by pressing your favorite flavor between two fresh-baked cookies, brownies, or even waffles. Roll the edges in mini chocolate chips, crushed nuts, or sprinkles for an extra treat. Wrap them in parchment paper for an easy, handheld dessert that’s both fun and freezer-friendly.
4. Ice Cream Taco Shells
Serve scoops inside a curved waffle shell or folded crepe for a playful “ice cream taco.” Add fillings like caramel drizzle, sliced fruit, or cookie crumbles, and top with whipped cream. It’s a unique way to impress your guests with minimal effort.
5. Scooped Over Warm Desserts
Pairing cold ice cream with warm desserts creates a mouthwatering contrast in texture and temperature. Serve your favorite scoop over brownies, warm apple pie, cobbler, or skillet cookies. The heat gently melts the ice cream, creating a creamy sauce that soaks into every bite.
6. Mini Ice Cream Flights
Can’t pick just one flavor? Serve a trio of mini scoops in tasting bowls for an ice cream flight! Use a melon baller or small cookie scoop to portion smaller servings, and let guests sample different combinations—perfect for parties, events, or dessert boards.
7. Edible Ice Cream Bowls
Get creative with chocolate-dipped bowls, cookie cups, or hollowed-out fruit (like halved coconuts or scooped-out oranges). Not only do they look impressive, but they also add flavor and eliminate dishwashing—win-win!
These imaginative serving styles turn your humble ice cream scoop into a showstopping summer dessert. Whether you’re keeping it simple or going all-out, presentation can elevate the eating experience—and make your recipe blog post that much more shareable and memorable.
Hosting a Summer Ice Cream Bar
If you’re looking to impress guests at your next backyard gathering, picnic, or birthday party, few things are as fun and interactive as a DIY summer ice cream bar. It’s a crowd-pleasing, hands-on way to serve your favorite ice cream scoop with endless toppings and customization—perfect for kids and adults alike. Here’s how to create an unforgettable ice cream bar experience:
1. Choose a Variety of Ice Cream Flavors
Start with a base selection of 2–4 flavors to offer a range of choices. Include classic crowd-pleasers like vanilla, chocolate, and strawberry, along with something bold or seasonal—like mango coconut, coffee caramel, or mint chip. You can use your homemade recipe or a mix of store-bought and homemade.
👉 Pro Tip: Pre-scoop your ice cream into individual bowls or containers ahead of time and store them in the freezer for quick, mess-free serving.
2. Create a Toppings Station
Set out a toppings bar with sweet and crunchy options in small bowls or mason jars. Use labels or chalkboard signs to keep it organized and cute. Here are some popular options to include:
- Crushed cookies (Oreos, graham crackers)
- Mini marshmallows
- Chocolate chips or chunks
- Sprinkles and candy bits
- Chopped nuts (peanuts, almonds, pecans)
- Fresh fruit (berries, bananas, pineapple)
- Shredded coconut or cereal
- Gummy bears or sour candies for kids
Don’t forget sauces! Offer chocolate syrup, caramel, strawberry sauce, and even a peanut butter drizzle for an extra indulgent touch.
3. Offer Fun Serving Options
Make your ice cream bar feel special with a mix of serving vessels:
- Waffle cones and sugar cones (decorate with dipped rims!)
- Classic bowls or sundae glasses
- Edible cookie cups or brownie bowls
- Mini mason jars for parfait-style sundaes
Set out plenty of napkins and spoons, and keep everything organized on a table or tray.
4. Keep It Cool and Clean
Ice cream melts fast—especially in summer heat! Use ice trays, coolers, or a chilled serving dish under your ice cream containers to keep things cold longer. Offer wet wipes, paper towels, and trash bins nearby to keep things tidy as guests build their creations.
5. Add Personal Touches
Consider creating custom name tags or place cards so guests can label their creations. You could even have a “Sundae of the Day” suggestion board or a little contest for the most creative combo. Kids especially love the chance to “build their own masterpiece.”
A summer ice cream bar is more than a dessert—it’s an activity, a memory-maker, and a perfect way to enjoy the season with family and friends. With a few simple touches and the right ice cream scoop, you can transform any gathering into a sweet celebration!