Looking for a protein-packed snack that’s flavorful, portable, and way better than anything you’ll find in a store? Make your own beef sticks at home with this easy, customizable recipe! Whether you’re meal prepping for the week, packing lunchboxes, or just need a healthy grab-and-go option, these homemade beef sticks deliver big on taste and nutrition.
Unlike store-bought options, which are often loaded with preservatives, artificial flavors, and excess sodium, making beef sticks at home gives you full control over the ingredients. You can tailor the seasoning to your liking, use high-quality meat, and adjust the texture and heat level to suit your preferences.
Perfect for low-carb or keto diets, these beef sticks are a great way to stay full between meals without reaching for processed snacks. They’re also ideal for busy workdays, hiking trips, or as a satisfying post-workout bite. If you’ve ever wondered how to make your own beef sticks without complicated equipment, you’re in the right place—this step-by-step guide walks you through the entire process from seasoning to storage.
Why Homemade Beef Sticks Are Worth It
Store-Bought vs Homemade Beef Sticks: What’s the Difference?
If you’ve ever grabbed a beef stick off a grocery store shelf, you know they’re convenient—but have you ever stopped to check the label? Many store-bought beef sticks are packed with preservatives, fillers, excess sodium, and sometimes even added sugars. While they may be shelf-stable and easy to carry, they often sacrifice flavor, texture, and nutritional quality for mass production and long shelf life.
When you make your own beef sticks at home, you control everything: the cut of meat, the seasoning, the salt content, and even how they’re cooked or dried. That means no artificial ingredients, no unnecessary additives, and no guessing what’s in your snack. You can use lean ground beef, grass-fed meat, or even mix in other proteins like venison or turkey if you like.
Taste is another huge difference. Homemade beef sticks are fresher, juicier, and customizable—whether you like them smoky, spicy, or mild. Plus, when you make them yourself, you can batch prep and store them for weeks, just like commercial options, but with the peace of mind that you know exactly what you’re eating.
From a cost perspective, homemade beef sticks can also be far more affordable in the long run. Buying in bulk and using pantry spices you already have can significantly reduce the cost per stick compared to premium store-bought brands.
In short, store-bought beef sticks offer convenience, but homemade beef sticks offer quality, control, and taste that simply can’t be matched. If you’re serious about snacking smarter, it’s time to go DIY!
Health Benefits of Making Your Own Beef Sticks
One of the biggest reasons to make your own beef sticks is the health advantage. Store-bought options might be easy to grab and go, but they often come with hidden ingredients that aren’t so kind to your body—think added sugars, MSG, nitrates, and artificial preservatives. When you make beef sticks at home, you take back control over what goes into your food and how it supports your wellness goals.
1. Clean, High-Quality Protein:
Homemade beef sticks are an excellent source of high-quality protein, which is essential for muscle repair, energy, and satiety. By using lean ground beef or grass-fed cuts, you can increase the protein content while minimizing saturated fat.
2. Low-Carb & Keto-Friendly:
Most commercial meat sticks include sugars, corn syrup solids, or carb-heavy fillers. When you make your own, you can skip all that and create a snack that fits cleanly into low-carb, paleo, or keto diets. This makes homemade beef sticks a go-to for anyone focused on blood sugar control or fat-burning nutrition plans.
3. No Artificial Additives:
Say goodbye to preservatives, colorings, and unpronounceable ingredients. You get to decide exactly what goes in—from natural seasonings like garlic powder and paprika to healthier alternatives for curing and preservation. Some people even opt for organic spices and grass-fed beef for an even cleaner snack.
4. Better for Special Diets & Allergies:
If you’re sensitive to gluten, dairy, soy, or other common allergens, homemade beef sticks are a safe and customizable option. You can tailor them to suit your needs or your family’s, with peace of mind.
5. Portion Control & Balanced Snacking:
Making your own beef sticks allows you to customize portion sizes to match your goals—whether you’re looking for a mini protein boost or a more filling snack. This helps support mindful eating and better appetite control throughout the day.
By choosing to make your own beef sticks, you’re not just enjoying better taste—you’re actively investing in your health with every bite.
Cost Savings and Customization with DIY Beef Sticks
Another major advantage of choosing to make your own beef sticks is the money you’ll save—without sacrificing quality. Store-bought beef sticks, especially those marketed as “premium” or “natural,” can cost anywhere from $1.50 to $3 per stick. Multiply that by a few weeks’ worth of snacks, and it adds up quickly. In contrast, when you make beef sticks at home, the cost per stick can drop significantly—often below $1, depending on the meat and ingredients you use.
Buying ground beef in bulk (or grinding your own) and using pantry spices you already have makes this an economical choice. You can also skip the expensive packaging, branding, and distribution costs that come with store-bought products. Over time, even investing in basic tools like a sausage stuffer or dehydrator pays off by allowing you to batch prep dozens of beef sticks for a fraction of the retail price.
But it’s not just about saving money—it’s about getting exactly what you want.
When you make your own beef sticks, customization is unlimited:
- Prefer a spicier snack? Add chili flakes or cayenne.
- Want a smoky flavor? Use liquid smoke or smoke them in your own smoker.
- Following a low-sodium diet? Adjust the salt content to suit your needs.
- Cooking for kids? Make a milder, smaller version that’s easy for them to enjoy.
- On a special diet? You can go fully keto, paleo, or allergen-free without compromise.
You can even get creative by blending in other meats like turkey or venison, or by experimenting with global flavors—think teriyaki, chipotle, or Mediterranean spice blends.
With DIY beef sticks, you’re not just saving money—you’re getting a healthier, personalized snack that fits your lifestyle, tastes better, and stretches your grocery budget further.
Ingredients and Tools You’ll Need
Best Meat for Beef Sticks – Ground Beef vs Whole Cuts
When you’re ready to make your own beef sticks, one of the first choices you’ll face is the type of meat to use. While both ground beef and whole cuts of meat can produce delicious results, each comes with its own benefits depending on your goals for taste, texture, ease, and budget.
Ground Beef – The Easy, Affordable Choice
Ground beef is by far the most popular option for homemade beef sticks—especially for beginners. It’s easy to work with, widely available, and doesn’t require any special slicing or trimming. You can simply mix your seasoning blend right into the meat, stuff it into casings (if using), and start the cooking or dehydrating process. Ground beef allows for a uniform texture and consistent seasoning in every bite.
For best results, choose ground beef that’s around 85% to 90% lean. Too much fat can lead to greasy sticks and affect shelf life, while meat that’s too lean may turn out dry. Ground beef also gives you flexibility: you can blend it with other meats like pork or turkey, and you can easily form smaller sticks for kids or portion-controlled snacks.
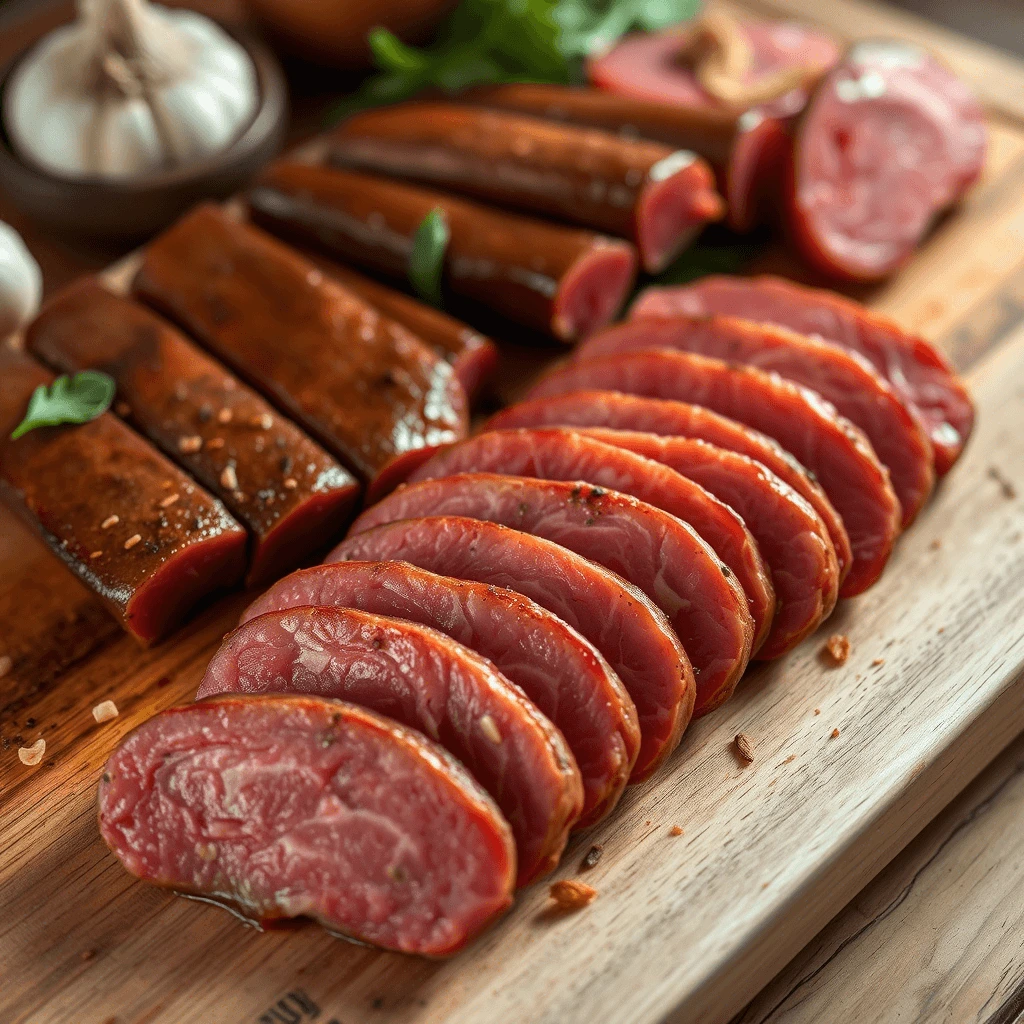
Whole Cuts – For a Chewier, Jerky-Style Texture
Whole cuts of beef—like top round, eye of round, or sirloin—are typically used for jerky but can also be made into firmer, sliceable beef sticks if you prefer a chewier, more traditional texture. This method usually involves slicing the meat into strips, marinating it, and then dehydrating or smoking it, rather than stuffing it into casings.
Whole muscle meat beef sticks tend to have a more artisan or rustic feel. They’re perfect if you enjoy that meaty, fibrous texture and want to avoid ground meat entirely. However, it requires a bit more prep time, a sharp knife, and consistent slicing for even drying or smoking.
Which Should You Choose?
- If you’re looking for convenience, ease, and consistency, go with ground beef.
- If you prefer a more traditional or jerky-like texture and don’t mind the extra prep, try whole cuts.
- Either way, choosing high-quality, fresh meat—ideally grass-fed or organic—is key to making the best beef sticks possible.
Ultimately, both types of meat can yield amazing results. It all comes down to your taste preference and how hands-on you want to be. And the best part? Once you try one method, you can always experiment with the other!
Must-Have Seasonings
When you make your own beef sticks, one of the most exciting parts is choosing the perfect seasoning blend. The right combination of spices doesn’t just add flavor—it transforms your beef sticks from bland to bold, giving them that crave-worthy, savory depth you expect from premium meat snacks.
Whether you’re going for classic smoky flavor, something spicy, or even a sweet-and-savory twist, here are the essential seasonings to get you started.
Core Seasonings You Shouldn’t Skip
- Salt: A must for flavor enhancement and preservation. Use curing salt (like Prague Powder #1) if you’re drying or smoking the sticks for longer storage, or kosher salt if you’re making fresh, refrigerated versions.
- Black Pepper: Adds a touch of heat and classic beefy flavor. Freshly ground is best.
- Garlic Powder & Onion Powder: These aromatics give your beef snack sticks depth and umami richness.
- Paprika: Choose smoked paprika for a subtle smokiness or sweet paprika for color and mild flavor.
Optional Add-Ins for More Punch
- Red Pepper Flakes or Cayenne: For those who like it hot. Add to taste for a spicy kick.
- Mustard Seed or Ground Mustard: Offers a tangy, slightly sharp note that pairs well with beef.
- Coriander & Fennel Seeds: Common in sausage-making, these can give your beef sticks a more complex, slightly sweet and herbal flavor.
- Brown Sugar or Maple Powder: A touch of sweetness balances the salt and spice. Great for a sweet-and-spicy flavor profile.
Customize with Global Flavor Twists
- Italian Blend (oregano, basil, thyme): For a Mediterranean twist.
- Chipotle & Cumin: For Tex-Mex or smoky BBQ-style beef sticks.
- Soy Sauce, Ginger, Garlic: For an Asian-inspired beef snack stick marinade.
Don’t Forget the Binder (Optional)
If you’re using ground beef, a small amount of nonfat dry milk powder, almond flour (keto-friendly), or breadcrumbs can help bind the mixture and keep the texture smooth. This step is optional, depending on your dietary needs.
Pro Tip: Mix & Marinate
Once you’ve chosen your seasonings, mix them thoroughly into your ground beef or marinade for whole cuts. Letting the mixture sit in the fridge for 12–24 hours before cooking or dehydrating allows the flavors to meld and soak deep into the meat.
By mastering your seasoning blend, you can customize your homemade beef sticks to taste better than anything you’ll find at the store—and even better, you can adjust them to suit any diet or preference.
Essential Equipment: From Sausage Stuffers to Dehydrators
If you’re ready to make your own beef sticks, having the right equipment can make the process smoother, faster, and more professional. While you can make beef sticks with just basic kitchen tools, investing in a few key pieces of gear can elevate your results and help you achieve that store-quality texture and flavor.
Let’s break down the essential tools and what each one does:
1. Meat Grinder (Optional but Recommended)
If you’re starting with whole cuts of meat or want to blend different types of meat (like beef and venison), a meat grinder is a must-have. It allows you to control the grind texture and freshness. Many home cooks opt for a grinder attachment for their stand mixer or a standalone electric grinder for larger batches.
Pro Tip: Grinding your own meat ensures you avoid pre-ground meat fillers and allows you to adjust the fat content.
2. Sausage Stuffer
To achieve that traditional beef stick shape, a sausage stuffer helps you pack the seasoned meat mixture into collagen or natural casings evenly and tightly. Manual stuffers are great for beginners and small batches, while vertical or electric stuffers work better for larger quantities.
If you don’t have a stuffer, you can shape beef sticks by hand or use jerky gun-style extruders—though the texture and shape may differ.
3. Dehydrator
A food dehydrator is one of the most popular tools for making homemade beef sticks. It slowly removes moisture at low temperatures, preserving the meat and creating that signature chewy texture. Look for a dehydrator with adjustable temperature settings (ideally reaching 160°F or higher for safe drying).
No dehydrator? Use your oven on its lowest setting with the door slightly open. It works in a pinch but may require more monitoring.
4. Smoker or Oven (for Cooking & Flavor)
If you want smoky, savory flavor in your beef sticks, a smoker is a game-changer. It adds depth and authenticity that’s hard to match with seasoning alone. Wood chips like hickory, applewood, or mesquite are great for beef.
Alternatively, an oven can be used to fully cook beef sticks, especially if you’re not planning to dehydrate them. Just make sure the internal temperature of the meat reaches 160°F for food safety.
5. Vacuum Sealer (for Storage)
Once your beef sticks are ready, storing them properly ensures they stay fresh and flavorful. A vacuum sealer removes air and extends shelf life, making it ideal for batch prep. If you don’t have one, use airtight containers or zip-top bags with as much air removed as possible.
Minimal Setup for Beginners:
If you’re just starting out and want to keep it simple, here’s what you’ll need:
- Ground beef
- Mixing bowl
- Baking sheet with rack
- Oven (or air fryer with low temp setting)
- Ziplock bags or jars for storage
As you grow more confident, you can invest in more advanced tools to take your homemade beef sticks to the next level.
Step-by-Step Guide to Making Beef Sticks at Home
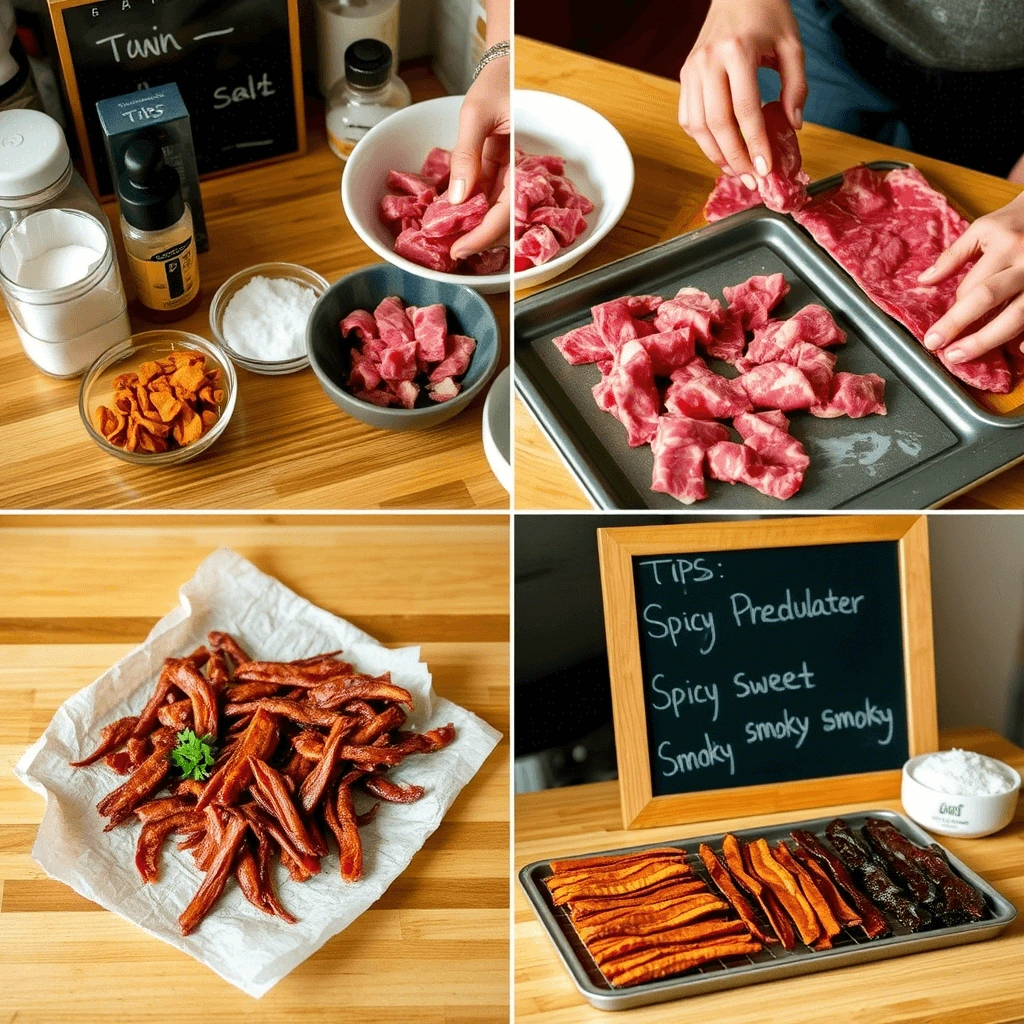
How to Prepare and Season Your Beef Stick Mixture
The heart of any great homemade beef stick is in the preparation—and especially in the seasoning. When you make your own beef sticks, the goal is to blend just the right amount of meat, spices, and texture so that each bite is flavorful, balanced, and satisfying. Whether you’re using ground beef or a mix of meats, getting this step right sets the tone for the entire batch.
Step 1: Choose the Right Ground Meat
Start with high-quality ground beef, ideally 85–90% lean. This provides enough fat for moisture and flavor, but not so much that your beef sticks become greasy. You can also blend in ground pork, venison, or turkey depending on your preferences or dietary needs.
Tip: If grinding your own meat, make sure everything—your meat, equipment, and hands—is cold to ensure a clean grind and better texture.
Step 2: Add Seasonings and Curing Agents
In a large mixing bowl, combine your meat with your chosen seasoning blend. Common spices include salt, black pepper, garlic powder, onion powder, paprika, and crushed red pepper. For smoky or sweet varieties, add smoked paprika or a bit of brown sugar or maple powder.
If you plan to dehydrate or store your beef sticks unrefrigerated, you’ll also want to include curing salt (such as Prague Powder #1) for safe preservation. This is essential when making shelf-stable meat snacks.
Mix the seasonings evenly through the meat using clean hands or a stand mixer with a paddle attachment. Take your time—uniform seasoning distribution is key to consistency in flavor and texture.
Step 3: Optional Binders for Better Texture
To improve the binding and moisture retention of your beef stick mixture (especially if using lean meat), consider adding:
- Nonfat dry milk powder (common in traditional recipes)
- Breadcrumbs (for non-gluten-free diets)
- Almond flour (keto-friendly)
- Eggs (used sparingly in some fresh versions)
These binders help your beef sticks hold their shape, especially when stuffing into casings or forming by hand.
Step 4: Marinate for Maximum Flavor
Once your beef mixture is thoroughly seasoned and mixed, cover and refrigerate it for at least 12–24 hours. This resting period allows the flavors to meld and absorb deeply into the meat, creating a more cohesive and flavorful final product.
Skipping this step may result in bland or unevenly seasoned beef sticks—don’t rush it!
Step 5: Test for Flavor
Before stuffing or forming all of your beef sticks, cook a small test patty in a skillet. Taste it and adjust seasonings if needed—this step ensures your whole batch will be just right.
By carefully preparing and seasoning your beef stick mixture, you’ll lay the foundation for a homemade snack that’s full of flavor, perfectly textured, and better than anything you can find on a store shelf.
Cooking Methods – Smoking, Baking, or Dehydrating Beef Sticks
Once you’ve seasoned and shaped your beef stick mixture, it’s time to cook them to perfection. The method you choose—smoking, baking, or dehydrating—will directly impact the flavor, texture, and shelf life of your homemade beef sticks. Each has its pros and ideal uses depending on the style you’re going for.
Let’s break down each technique to help you pick the best one for your setup and taste preferences.
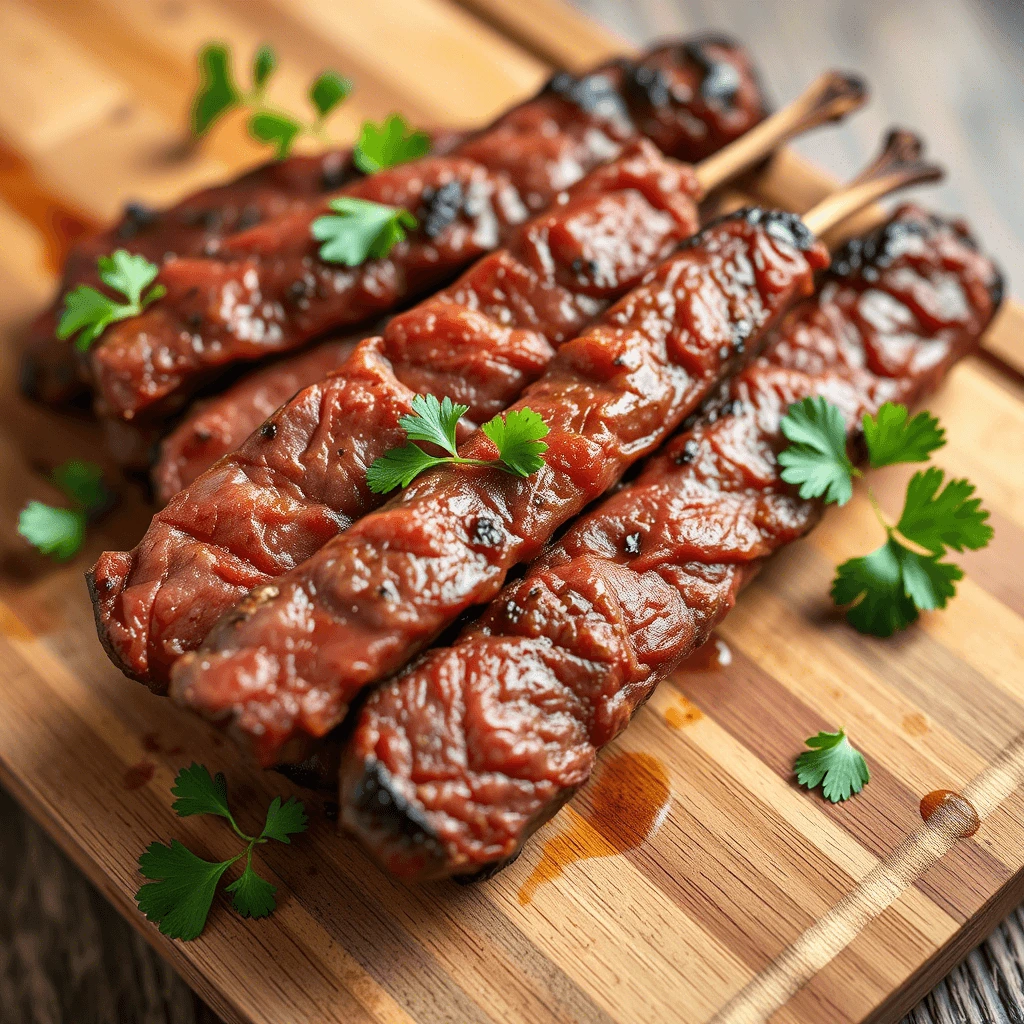
Smoking Beef Sticks – Rich, Authentic Flavor
If you want that traditional, smoky flavor found in premium meat sticks, smoking is the way to go. Using a smoker infuses your beef sticks with deep, complex flavor while also gently cooking and drying them at low temperatures.
Best wood chips: Hickory, applewood, mesquite, or cherry
Temperature range: 160°F to 180°F (70°C to 82°C)
Time: 4 to 6 hours depending on thickness and desired dryness
Pro Tip: Slowly raise the smoker temperature in stages to allow the beef sticks to dry without fat rendering too quickly, which can result in a greasy texture.
Smoking also acts as a natural preservative when paired with curing salts, extending the shelf life of your beef sticks and making them ideal for long-term storage.
Baking Beef Sticks – Fast and Convenient
For a quick and beginner-friendly method, you can bake beef sticks in a home oven. While baking doesn’t provide the smoky depth of flavor, it’s an accessible option for small batches and doesn’t require specialized equipment.
Oven temperature: 170°F to 200°F (77°C to 93°C)
Time: 3 to 4 hours or until internal temperature reaches 160°F (71°C)
Place the beef sticks on a wire rack over a baking sheet to allow airflow underneath. If your oven doesn’t go low enough, prop the door open slightly to vent moisture and reduce temperature.
Safety Note: Always use a meat thermometer to ensure your beef sticks reach a safe internal temperature of 160°F.
You can also add a drop or two of liquid smoke to your seasoning blend if you want a touch of smokiness in oven-baked sticks.
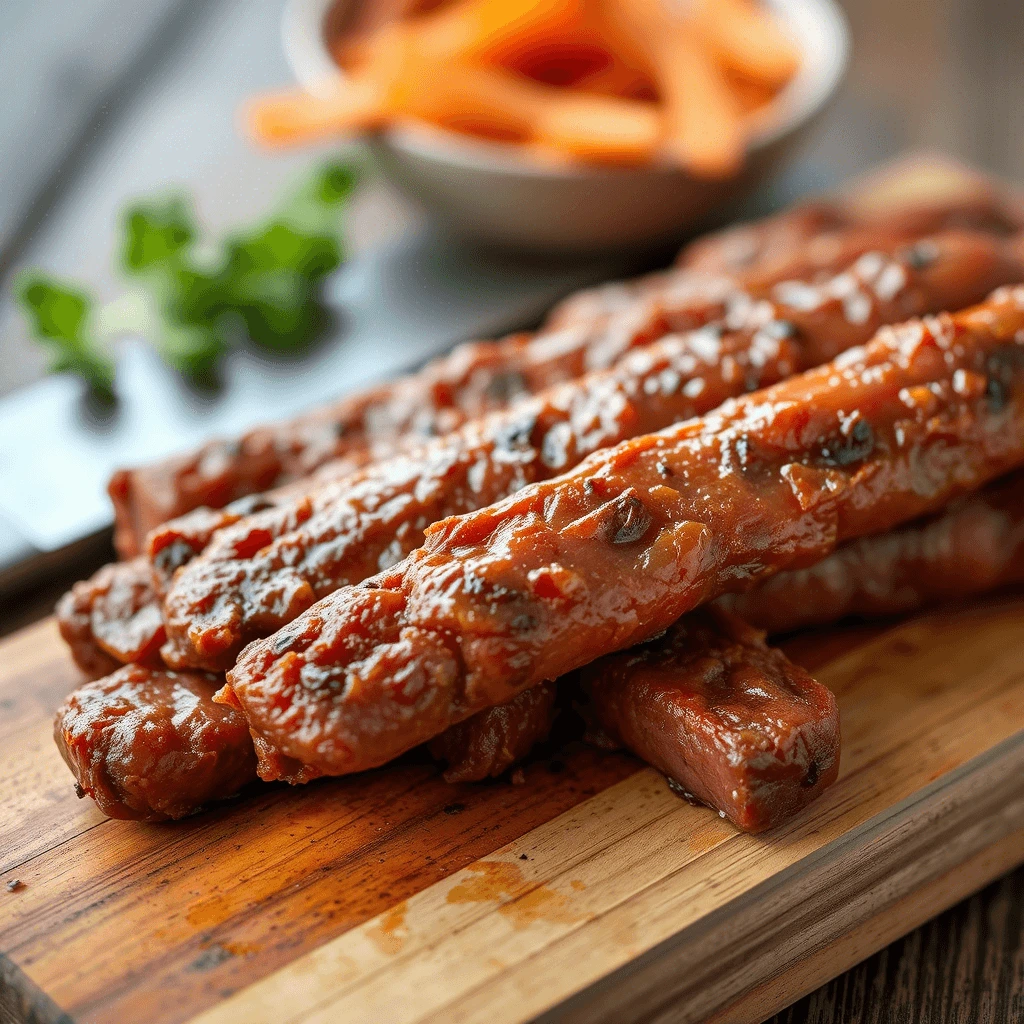
Dehydrating Beef Sticks – Shelf-Stable and Chewy
A food dehydrator is ideal for those who want a chewy, jerky-style beef stick that’s shelf-stable. Dehydrating slowly removes moisture without cooking the meat too quickly, resulting in a firm texture and long storage life.
Temperature: Set dehydrator to 160°F (71°C)
Time: 6 to 8 hours or until beef sticks are fully dried and bend slightly without breaking
Be sure to use curing salt when dehydrating to prevent bacterial growth. Rotate trays periodically for even drying. This method is perfect for meal preppers, hikers, and anyone wanting homemade snacks on the go.
Bonus: Dehydrators are energy-efficient and great for making other snacks like jerky, dried fruit, or veggie chips.
Which Cooking Method Is Right for You?
| Method | Flavor Profile | Equipment Needed | Ideal For |
|---|---|---|---|
| Smoking | Deep, smoky, savory | Smoker | Authentic beef sticks with rich taste |
| Baking | Mild, simple | Oven + rack | Beginners or quick batches |
| Dehydrating | Chewy, dry, snackable | Food dehydrator | Shelf-stable, portable snacks |
No matter which method you choose, be sure to monitor internal temperature and moisture loss closely to achieve the perfect bite.
Storing Homemade Beef Sticks for Maximum Freshness
Once you’ve gone through the effort to make your own beef sticks, proper storage is essential to keep them tasting great and safe to eat. Whether you’re making a small batch to enjoy throughout the week or a larger quantity to last over time, how you store your homemade beef sticks can significantly affect their texture, flavor, and shelf life.
Here’s how to store your beef sticks the right way—based on how they were prepared and how long you plan to keep them.
Short-Term Storage (Up to 1 Week)
If you’re planning to eat your beef sticks within a few days, simply storing them in the refrigerator is sufficient.
- Method: Place the beef sticks in an airtight container, a resealable bag, or wrap them in wax paper and foil.
- Fridge life: 5 to 7 days
- Pro Tip: Let the sticks cool completely before refrigerating to prevent moisture buildup, which can lead to sogginess or spoilage.
This method works especially well for fresh or oven-baked beef sticks that haven’t been cured or dehydrated.
Medium-Term Storage (1 to 2 Weeks)
For slightly longer freshness, especially if you’ve made a semi-dried or smoked product, vacuum sealing is highly recommended.
- Method: Use a vacuum sealer to remove air and seal your beef sticks tightly.
- Storage: Keep in the refrigerator
- Shelf life: 10 to 14 days
Removing oxygen slows down spoilage and helps maintain flavor and texture. This method is excellent for meal preppers or snack lovers who want grab-and-go protein throughout the week.
Long-Term Storage (1 to 3 Months or More)
To extend the shelf life of your homemade beef sticks, especially those that are smoked or dehydrated and made with curing salt, freezing is your best option.
- Method: Vacuum seal or double-wrap tightly in plastic wrap followed by aluminum foil
- Storage: Place in the freezer
- Freezer life: Up to 3 months, or even longer if properly sealed
When you’re ready to enjoy them, simply thaw overnight in the fridge. While frozen beef sticks maintain their safety and nutritional value, note that texture may change slightly due to ice crystals forming inside the meat.
Shelf-Stable Beef Sticks (Without Refrigeration)
If you’ve used curing salt and dehydrated your beef sticks to remove enough moisture, you may be able to store them at room temperature—much like commercial beef sticks or jerky.
- Storage: In a cool, dry pantry in vacuum-sealed bags or airtight containers
- Shelf life: 2 to 4 weeks (depending on drying level and environment)
Important: Only store beef sticks at room temperature if you’ve followed proper curing and dehydrating techniques to inhibit bacterial growth.
Tips for Maximum Freshness and Food Safety
- Label your packages with the date to track freshness
- Avoid moisture exposure during storage to prevent mold growth
- Keep out of direct sunlight and store in a cool place
- When in doubt, throw it out. If your beef sticks smell off, feel slimy, or show signs of mold, discard them immediately
By storing your homemade beef sticks properly, you’ll enjoy every savory bite just the way you intended—fresh, flavorful, and safe.