Craving a bold, crunchy snack that packs a punch? Spicy chips are the perfect answer! Whether you’re a heat-seeker or just love flavorful finger foods, making spicy chips at home is easier than you think. With a handful of simple ingredients and your favorite spices, you can create a crispy, mouthwatering treat that rivals any store-bought version. In this quick and crunchy guide, you’ll learn exactly how to make spicy chips that are full of flavor, easy to customize, and absolutely addictive. Let’s turn up the heat in your kitchen—snack time will never be boring again!
Ingredients & Tools You’ll Need for Spicy Chips
Potatoes or Sweet Potatoes – Which One to Use for Spicy Chips?
When it comes to making the perfect spicy chips, the type of potato you choose plays a big role in the final texture and flavor. Both regular potatoes and sweet potatoes can make deliciously crispy chips—but they each bring something different to the table.
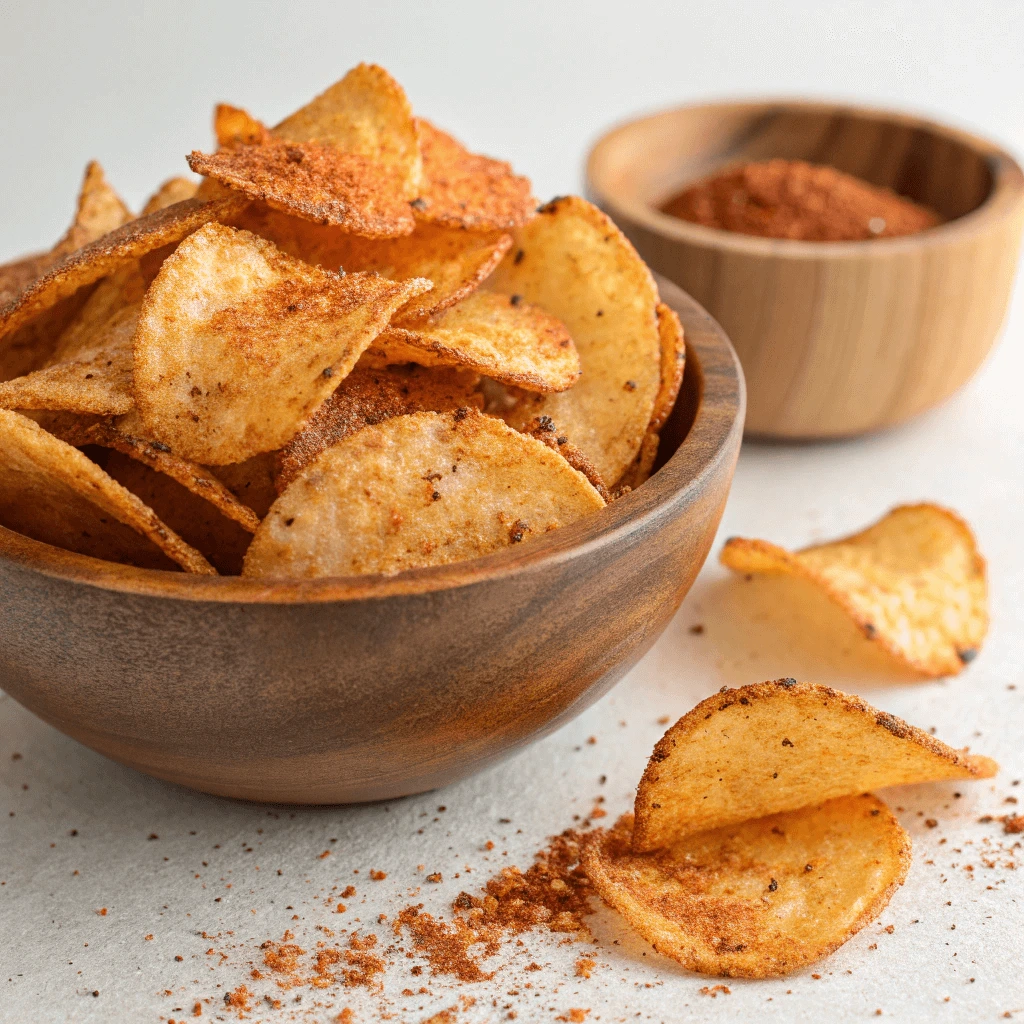
Regular Potatoes (Russet or Yukon Gold):
- Best for classic, crispy chips
Russet potatoes are starchy, which helps them crisp up beautifully when baked, fried, or air-fried. Yukon Golds offer a slightly buttery taste and a firmer texture. - Neutral flavor base
This makes them perfect for soaking up bold spice blends like chili powder, paprika, garlic, and cayenne. - Tips for success:
Slice them thin using a mandoline for even cooking, and soak the slices in cold water for 20–30 minutes to remove excess starch and boost crispiness.
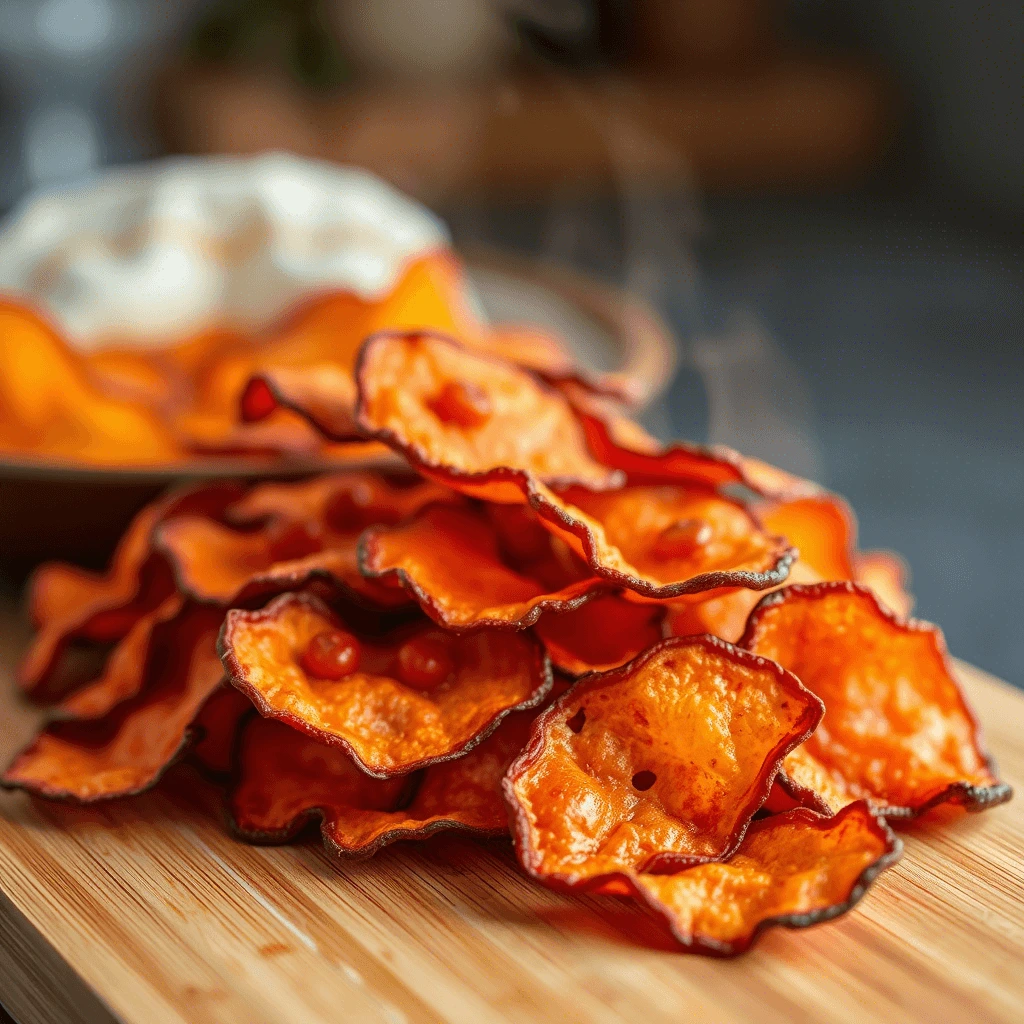
Sweet Potatoes:
- Naturally sweet and colorful
Sweet potatoes bring a vibrant orange hue and subtle sweetness that complements spicy seasonings beautifully. - Softer texture when baked
While they don’t get as crispy as regular potatoes, they offer a satisfying chewy crunch—especially when baked at a high temperature or air-fried. - Healthier option
Sweet potatoes are rich in fiber, beta-carotene, and antioxidants, making them a great option for a more nutrient-packed spicy snack.
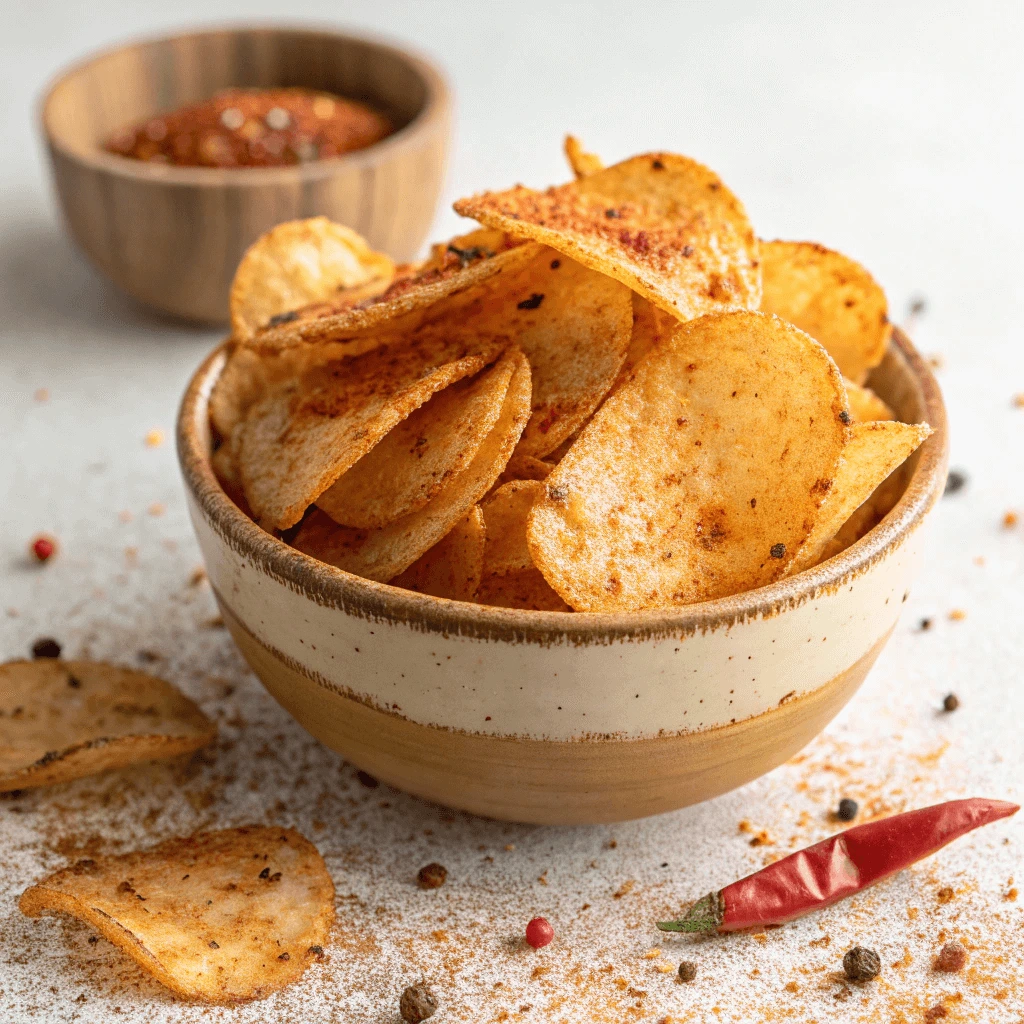
Essential Spices & Seasoning for Flavorful Spicy Chips
The heart of every great batch of spicy chips lies in the seasoning. It’s where the bold flavor, heat, and aroma all come together to make every bite unforgettable. Whether you’re going for a fiery kick or a balanced smoky flavor, these essential spices will take your homemade chips to the next level.
Chili Powder – The Heat Hero
Chili powder is the backbone of any spicy chip recipe. It adds depth, color, and heat, giving your chips that signature reddish hue and fiery flavor.
- Use moderately if you’re spice-sensitive, or go bold if you’re a chili lover.
- For added complexity, try different types like ancho chili, chipotle, or kashmiri chili.
Paprika – Smoky or Sweet?
Paprika is perfect for enhancing flavor without overwhelming heat.
- Sweet paprika adds a mild, earthy warmth.
- Smoked paprika adds a deeper, smoky flavor that pairs beautifully with baked or air-fried chips.
- Pro tip: combine both for a layered taste.
Garlic Powder – The Flavor Enhancer
Garlic powder is an underrated yet essential addition. It adds a savory punch that rounds out the spice blend, making each chip more flavorful and addictive.
- Just a teaspoon can add a noticeable difference in taste.
- Avoid fresh garlic here—it can burn during baking or frying.
Bonus Seasonings to Try:
- Cayenne Pepper: For those who like it extra hot. Start with a pinch and adjust.
- Black Pepper: Adds sharpness and complexity.
- Sea Salt or Pink Salt: Enhances the overall flavor and balances the heat.
- Onion Powder: For extra savory depth.
Tools for Perfect Chips – Crisp, Even, and Easy
Getting that irresistible crunch in homemade spicy chips isn’t just about ingredients—it’s also about using the right tools. With a few essential kitchen gadgets, you can slice faster, cook more evenly, and boost the overall quality of your chips.
Mandoline Slicer – For Thin, Even Slices
One of the biggest secrets to crispy chips is consistency in thickness.
- A mandoline slicer makes it easy to slice potatoes or sweet potatoes ultra-thin and even, which is crucial for uniform cooking.
- Look for a model with adjustable thickness settings for greater control.
- Always use the safety guard to protect your fingers!
Air Fryer, Oven, or Deep Fryer – Choose Your Crunch
Each cooking method brings its own texture and flavor:
- Air Fryer:
- A healthier alternative to deep frying.
- Chips get crisp with minimal oil.
- Fast cooking time and easy cleanup.
- Oven:
- Best for large batches.
- Bake on a parchment-lined baking sheet with good spacing between slices.
- Rotate trays halfway through for even cooking.
- Deep Fryer or Pan Frying:
- Delivers that classic, ultra-crispy texture.
- Ideal for a more indulgent treat.
- Requires careful temperature control and draining on paper towels.
Mixing Bowls, Tongs & Cooling Rack – The Finishing Touches
- Mixing Bowls: For tossing potato slices evenly with your spice blend and oil.
- Tongs or Silicone Gloves: Essential for safe handling, especially when hot.
- Cooling Rack: Let your chips cool in a single layer on a wire rack to maintain their crispiness and avoid sogginess.
How to Make Spicy Chips at Home (Step-by-Step)
Slice and Soak – The Secret to Ultra-Crispy Spicy Chips
One of the most important steps in making perfect spicy chips is properly slicing and soaking your potatoes. This process may seem simple, but it’s a game-changer for achieving that irresistible crispiness in every bite.
1. Slice Evenly and Thinly
To get chips that cook evenly and crisp up just right, uniform slicing is crucial.
- Use a mandoline slicer for paper-thin, consistent slices—about 1.5–2 mm thick.
- If slicing by hand, take your time to cut as evenly as possible to avoid uneven cooking or soggy spots.
Pro Tip: The thinner the slice, the crispier the chip!
2. Soak in Cold Water
Once sliced, immediately transfer the potato (or sweet potato) slices to a large bowl of cold water.
- Soaking removes excess starch, which can cause chips to stick together and prevents them from crisping properly.
- It also helps the chips retain their shape and develop a more golden finish when baked or fried.
Soaking time: At least 20–30 minutes, but up to 1 hour for best results.
3. Drain and Dry Thoroughly
After soaking, drain the slices and pat them completely dry with a clean kitchen towel or paper towels.
- Removing moisture is critical—any excess water can lead to soggy chips and may cause oil to splatter during frying.
- Lay the slices out in a single layer and press gently to absorb any remaining moisture.
Season Like a Pro – Bold Flavor in Every Bite
Once your potatoes are sliced, soaked, and dried, it’s time to turn them into truly addictive spicy chips. And that magic happens in the seasoning stage. A well-balanced spice mix doesn’t just bring the heat—it adds layers of flavor that keep you reaching for more. Here’s how to season like a pro:
1. Use a Balanced Spice Blend
Start with the essentials for that bold, spicy punch:
- Chili Powder – Brings the heat and that rich red color.
- Smoked or Sweet Paprika – Adds warmth and depth without overpowering heat.
- Garlic Powder – Gives a savory, umami-rich base.
- Cayenne Pepper – Optional, but perfect if you want an extra kick.
- Black Pepper & Onion Powder – Adds complexity and bite.
- Sea Salt or Himalayan Pink Salt – Enhances every flavor in your mix.
Pro Tip: Mix your spices in a small bowl before adding them to your chips to ensure even distribution and avoid clumping.
2. Toss with Oil Before Adding Spices
For the spices to stick and coat each chip perfectly, you need a bit of fat.
- Drizzle your potato slices with a light, neutral oil like olive oil, avocado oil, or sunflower oil.
- Toss the chips gently in a large bowl or use your hands to massage the oil onto each slice.
- Once lightly coated, sprinkle your spice blend gradually, tossing as you go to ensure every slice is evenly seasoned.
Avoid over-oiling—too much can make chips greasy or prevent them from crisping.
3. Season Before or After Cooking?
Both methods work, depending on the texture and flavor you’re aiming for:
- Before Cooking: Best when baking or air-frying. Spices roast along with the chips, intensifying their aroma and flavor.
- After Cooking: Works well when deep-frying—season while chips are still hot and slightly oily so the spices stick.
You can even do both: a light seasoning before cooking, then a final dusting of chili salt after for extra punch!
Flavor Variation Ideas
Want to mix things up? Here are some creative seasoning blends:
- Smoky BBQ: Paprika, brown sugar, cumin, garlic powder, and salt.
- Spicy Ranch: Dried dill, onion powder, garlic powder, paprika, and cayenne.
- Zesty Lime Chili: Chili powder, lime zest, sea salt, and a pinch of sugar.
Bake, Fry, or Air Fry – Choose Your Perfect Crisp
Now that your chips are sliced, soaked, dried, and seasoned to perfection, it’s time to cook them. The method you choose—baking, frying, or air frying—will affect the texture, crispiness, and even flavor intensity of your spicy chips. Each approach has its pros and unique qualities, so here’s how to make the most of each one:
1. Baking – The Easy, Oil-Lite Method
Baking is a great choice if you want a healthier chip without compromising on crunch.
Instructions:
- Preheat your oven to 400°F (200°C).
- Line a baking sheet with parchment paper or a silicone mat.
- Arrange chips in a single layer, without overlapping.
- Bake for 15–25 minutes, flipping halfway through for even browning.
- Keep a close eye on them during the last few minutes to prevent burning.
Pros:
- Lower in oil and calories.
- Great for batch cooking.
- Crispy with a natural potato flavor.
Tip: For extra crunch, finish with a broil for 1–2 minutes.
2. Deep Frying – The Classic, Ultra-Crispy Method
If you’re aiming for that authentic chip shop texture, frying delivers unbeatable crunch.
Instructions:
- Heat oil (sunflower, vegetable, or peanut oil) in a deep pot to 350–375°F (175–190°C).
- Fry a small batch at a time for 2–4 minutes or until golden and crisp.
- Use a slotted spoon to remove chips and drain them on paper towels.
Pros:
- Ultra-crispy and fast.
- Ideal for thin, uniform chips.
- Traditional flavor and texture.
Tip: Season chips immediately after frying while still hot to help spices stick.
3. Air Frying – The Modern, Health-Conscious Favorite
Want crunch with fewer calories and almost no mess? The air fryer is your best friend.
Instructions:
- Preheat air fryer to 360°F (182°C).
- Place chips in a single layer in the basket.
- Air fry for 10–15 minutes, shaking the basket halfway through.
- Chips are done when golden, crisp, and sizzling.
Pros:
- Requires very little oil.
- Fast, efficient, and easy cleanup.
- Crispy results with fewer calories.
Tip: Don’t overcrowd the basket—cook in batches for even results.
Which One Should You Choose?
| Method | Best For | Health Factor | Crispiness |
|---|---|---|---|
| Baking | Big batches, low-fat snack | ✅✅✅ | ✅✅ |
| Frying | Ultimate crunch, indulgence | ❌ | ✅✅✅✅ |
| Air Frying | Fast, light, and crispy | ✅✅✅ | ✅✅✅ |
No matter which cooking method you prefer, these spicy chips are bound to become your new go-to snack. Crispy, flavorful, and totally addictive—just how homemade chips should be!

Tips, Variations & Storage Ideas
Flavor Variations to Try – Customize Your Spicy Chips
One of the best things about homemade spicy chips is the ability to customize them exactly to your taste. Whether you’re craving extra heat, smoky depth, or a tangy twist, you can mix and match spices to create your own signature chip flavor. Here are some exciting seasoning variations to elevate your next batch:
1. Fiery Chili Lime Chips
Perfect for heat lovers who enjoy a zesty punch.
Seasoning Blend:
- Chili powder
- Cayenne pepper
- Garlic powder
- Zest of one lime
- A dash of lime juice after baking or frying
- Sea salt
Flavor Profile: Spicy, tangy, and vibrant — great for summer snacks or taco night sides.
Tip: Squeeze fresh lime over hot chips just before serving for a citrusy kick.
2. Sweet & Spicy Chipotle Chips
A smoky-sweet variation that balances heat with a touch of sweetness.
Seasoning Blend:
- Smoked paprika
- Chipotle powder
- Brown sugar or coconut sugar
- Garlic powder
- Salt
Flavor Profile: Smoky and slightly sweet, with a warm, lingering heat — perfect for fall or as a BBQ side.
Tip: Great with sweet potatoes for an even deeper caramelized flavor.
3. Spicy Ranch-Style Chips
A crowd-pleaser with cool-herb flavor and spicy undertones.
Seasoning Blend:
- Dried dill
- Onion powder
- Garlic powder
- Paprika
- Crushed red pepper flakes
- Buttermilk powder (optional)
- Salt and black pepper
Flavor Profile: Creamy, herby, and spicy — a perfect chip for dipping or enjoying on its own.
Tip: Try this variation with air-fried chips for a lighter take on a bold flavor.
4. Garlic Sriracha Explosion
A bold, modern flavor combo for spice lovers who want that sharp, garlicky heat.
Seasoning Blend:
- Garlic powder
- Sriracha powder (or a few drops of liquid Sriracha mixed into oil)
- Crushed chili flakes
- Sea salt
Flavor Profile: Strong, spicy, and savory — a great late-night snack or party chip.
5. Classic Spicy Salt & Vinegar
A tangy twist on a chip shop classic with a spicy edge.
Seasoning Blend:
- Vinegar powder or a light vinegar spray
- Sea salt
- Paprika
- A pinch of cayenne
Flavor Profile: Sharp, salty, and subtly spicy — excellent with deep-fried or baked chips.
Tip: Use malt vinegar for a traditional British chip flavor.
Mix, Match & Make It Yours
Feel free to experiment! Start with your favorite base (like chili powder and paprika), then tweak the levels of sweetness, smokiness, or tang to make a custom chip blend that’s uniquely yours.
Bonus Idea: Create a chip seasoning station when serving at gatherings so guests can sprinkle on their preferred flavors!
Healthy & Vegan Options – Guilt-Free Spicy Chip Enjoyment
Who says spicy chips have to be a guilty pleasure? With a few mindful choices, you can create delicious, crispy, and satisfying chips that fit both healthy and vegan lifestyles—without compromising on flavor or crunch. Here’s how to keep things light, clean, and plant-based:
1. Choose the Right Base: Potatoes, Sweet Potatoes, or Veggie Chips
- White potatoes (like Yukon Gold or Russet) are classic and crisp up beautifully.
- Sweet potatoes offer more fiber, antioxidants, and a subtle sweetness that balances spicy seasoning.
- Want something extra healthy? Try slicing beets, zucchini, or carrots for colorful, nutrient-rich veggie chips.
Tip: Thinner slices = faster cooking and crispier chips. A mandoline slicer helps keep everything uniform.
2. Go Easy on the Oil – Or Skip It
You don’t need heavy oils to get crispy chips:
- Toss slices in just 1–2 teaspoons of heart-healthy oil like olive oil, avocado oil, or grapeseed oil.
- For oil-free chips, lightly mist with water or vegetable broth before seasoning. This still helps spices stick, especially if baking or air frying.
Bonus: Using less oil means lower calories and easier digestion.
3. Use Whole-Spice Seasonings – No Additives or MSG
Many store-bought chip seasonings contain hidden sugars, dairy, or preservatives. Make your own vegan-friendly blend using:
- Chili powder
- Smoked paprika
- Garlic powder
- Onion powder
- Nutritional yeast (for a cheesy, umami flavor – totally vegan!)
- Himalayan or sea salt
Nutritional yeast is a great source of B12 for vegans and adds a savory punch without extra fat or dairy.
4. Air Frying or Baking = Healthy Cooking
Skip the deep fryer altogether:
- Air fryers use minimal oil while delivering amazing crunch.
- Baking on parchment or silicone mats avoids sticking and keeps cleanup easy.
- Always avoid overcrowding your pan or basket so the chips crisp up instead of steaming.
Air frying and baking help retain nutrients, reduce oil content, and make cleanup a breeze.
✅ Why These Chips Are the Perfect Healthy Snack
- ✅ 100% plant-based
- ✅ Gluten-free and easy to make allergen-friendly
- ✅ Packed with flavor, fiber, and crunch
- ✅ Made with simple, real ingredients—no artificial flavors or preservatives
Storing Your Spicy Chips – Keep Them Fresh & Crunchy
You’ve gone through the effort to slice, season, and perfectly cook your spicy chips—so don’t let them go stale! Proper storage is key to keeping your homemade chips crispy, flavorful, and ready to enjoy whenever a snack craving hits. Whether you’ve baked, fried, or air-fried your chips, here’s how to store them like a pro:
1. Cool Completely Before Storing
Before packing your chips away, let them cool completely at room temperature.
- Storing chips while they’re still warm traps moisture, which leads to sogginess.
- Spread them on a wire rack or paper towel-lined tray for at least 20–30 minutes after cooking.
Tip: Avoid stacking chips during the cooling phase—airflow prevents steam buildup.
2. Choose the Right Container
The right container makes all the difference between crunchy chips and limp disappointment.
- Use an airtight container—glass jars, BPA-free plastic containers, or resealable silicone bags work well.
- Add a paper towel inside the container to absorb any residual moisture and preserve crispiness.
- For even longer freshness, store chips in a vacuum-sealed bag if you have a sealer at home.
Avoid using soft plastic bags that don’t seal properly—they let in too much air and humidity.
3. Store in a Cool, Dry Place
Keep your spicy chips in a pantry or cupboard away from:
- Heat (e.g. near ovens or stoves)
- Humidity (e.g. above the dishwasher)
- Direct sunlight (which can degrade oils and spices)
Ideal temperature: Room temp (18–22°C / 64–72°F)
4. Shelf Life & Freshness Tips
- Homemade chips typically stay fresh for 3–5 days, especially if stored in an airtight container.
- If you notice them going soft, re-crisp them in the oven or air fryer:
- Oven: 300°F (150°C) for 5–7 minutes
- Air fryer: 350°F (175°C) for 3–5 minutes
Pro Tip: Label your container with the preparation date to track freshness easily.
Bonus: Make-Ahead Chip Prep
Want chips on-demand? Here’s how to prep ahead:
- Slice and soak your potatoes, then pat them dry and freeze them in batches.
- Season just before cooking.
- Bake, fry, or air fry from frozen with slightly longer cook times.