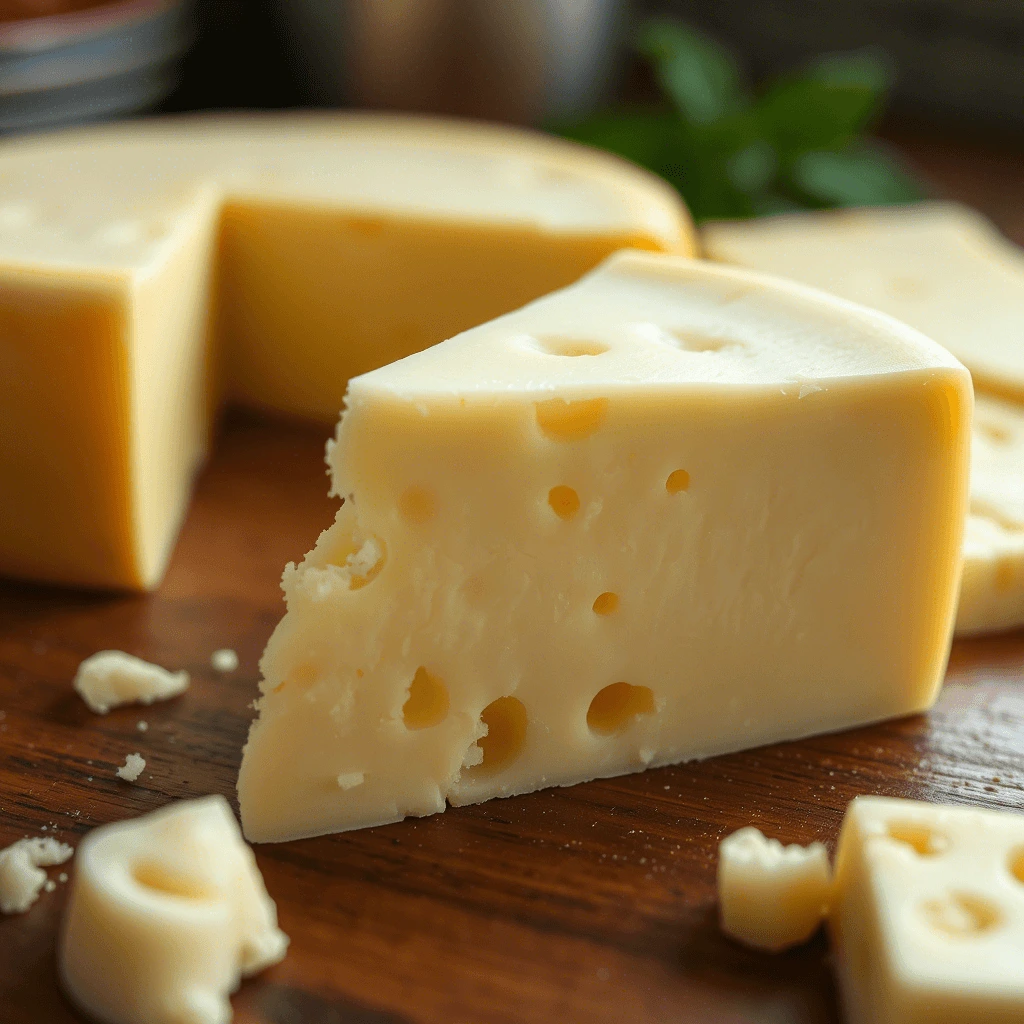
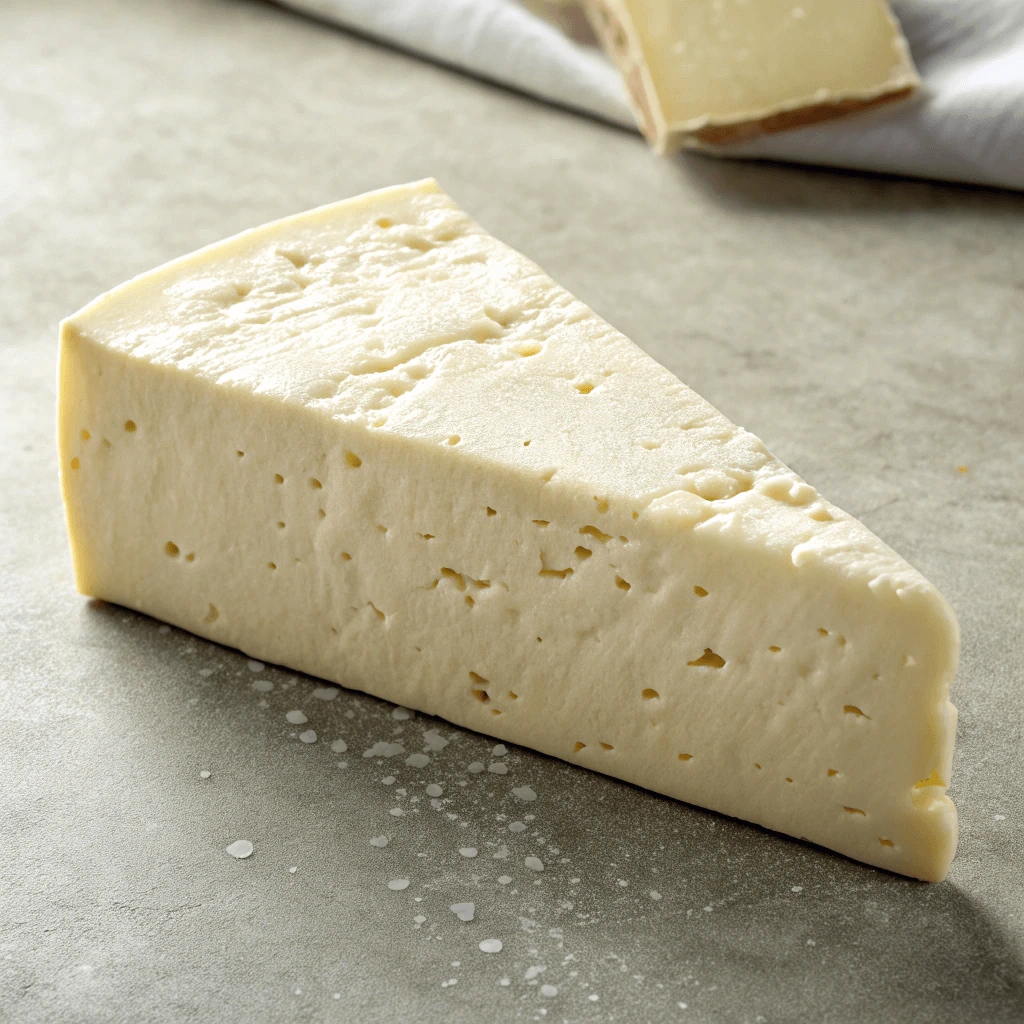
If you’ve ever bitten into a perfectly melty grilled cheese or a juicy cheeseburger, chances are you’ve already fallen in love with the creamy goodness of white American cheese. Known for its smooth texture and rich, mild flavor, white American cheese is a staple in countless comfort food recipes. But did you know it’s surprisingly easy — and even more delicious — to make at home?
In this guide, we’ll show you how to make the perfect white American cheese at home, using simple ingredients and easy techniques. Whether you’re a home cook looking to elevate your sandwiches or a cheese lover wanting to try something new, this homemade version will quickly become a favorite in your kitchen!
What Is White American Cheese and Why Make It at Home?
The History of White American Cheese
The story of white American cheese dates back to the early 20th century, during a time when innovation in food preservation and production was booming. Traditional cheeses like cheddar and Colby were popular, but they had a short shelf life and could be inconsistent in texture. To solve this, American inventors began experimenting with blending and heating natural cheeses to create a new kind of cheese — one that was smoother, meltier, and longer-lasting.
In 1911, Swiss inventor Walter Gerber developed the first version of processed cheese, but it was James L. Kraft who later revolutionized the American market. By 1916, Kraft had patented a method for emulsifying cheese to extend its freshness, which gave birth to what we now know as American cheese. While the original versions had an orange tint due to added coloring, white American cheese emerged as a popular variant, especially favored in delis, sandwich shops, and diners for its milder, slightly sweeter taste.
Today, white American cheese is celebrated for its incredible melting qualities — perfect for cheeseburgers, grilled cheese sandwiches, and creamy sauces. Unlike its mass-produced counterparts, homemade white American cheese offers an even richer flavor and a fresher, more authentic experience. Major brands like Kraft and Boar’s Head continue to produce both yellow and white versions, but making it at home lets you control the ingredients and enjoy a truly superior product.
Understanding the history behind white American cheese not only deepens your appreciation for this classic favorite but also inspires you to recreate it with even better quality and taste right in your own kitchen.
White American Cheese vs Processed Cheese
At first glance, white American cheese and processed cheese might seem very similar — after all, both are known for their smooth meltability and mild flavor. However, there are some important differences that set them apart, especially when it comes to quality, ingredients, and flavor.
White American cheese is technically considered a type of processed cheese, but it’s often made with higher-quality ingredients. It typically starts with a base of natural cheeses like cheddar or Colby, which are then blended with milk, butter, and emulsifiers (such as sodium citrate) to create a consistent, creamy texture. When you opt for a good deli brand like Boar’s Head, or better yet, make it at home, you’re getting real dairy products with minimal additives and a richer, more authentic cheese flavor.
On the other hand, processed cheese — the kind you often find pre-sliced and individually wrapped in plastic — tends to include more stabilizers, preservatives, and artificial ingredients. While it melts beautifully and lasts longer on the shelf, it usually sacrifices flavor and freshness for convenience. Some varieties may contain very little real cheese, relying instead on milk proteins, whey, and oils to mimic the texture and taste of cheese.
The main difference boils down to quality and taste. Homemade white American cheese gives you the real-deal flavor with control over what goes into it — pure dairy, no unnecessary additives. In contrast, mass-produced processed cheese is designed for uniformity, cost efficiency, and long shelf life, sometimes at the expense of true cheese flavor.
When you make your own white American cheese at home, you’re embracing a fresher, more delicious alternative that’s perfect for your favorite meals, from cheeseburgers to creamy macaroni and cheese.
Benefits of Homemade White American Cheese
There’s something truly special about making your own white American cheese at home. Beyond the satisfying feeling of creating it yourself, homemade cheese offers several real advantages that you just can’t get from store-bought slices.
1. Better Quality Ingredients:
When you make homemade white American cheese, you have full control over every ingredient that goes into it. Instead of relying on processed additives, preservatives, or artificial coloring, you’re using fresh dairy like whole milk, real butter, and natural cheeses such as sharp white cheddar. This results in a cleaner, richer flavor that highlights the best parts of American cheese — creamy, mild, and perfectly melty.
2. Superior Taste and Texture:
Store-bought processed cheese is designed for shelf life, not flavor. Homemade versions, by contrast, are made fresh, allowing the natural creaminess and depth of the cheese to shine through. Thanks to ingredients like real milk and emulsifiers like sodium citrate, you’ll achieve that classic, silky texture that’s ideal for melting — whether it’s layered in a cheeseburger, folded into a gooey grilled cheese, or stirred into a sauce.
3. Customization to Your Preferences:
One of the biggest perks of making your own white American cheese is the ability to tweak it to your liking. Prefer a sharper flavor? Add more aged cheddar. Want it extra creamy? Adjust the ratio of milk and butter. You can even experiment by infusing your cheese with spices like paprika, garlic, or jalapeño for a personalized twist. Homemade cheese opens the door to endless delicious variations you won’t find in stores.
4. Fewer Additives and Preservatives:
Commercial processed cheeses often contain a long list of hard-to-pronounce additives meant to extend shelf life and enhance consistency. By making white American cheese at home, you can skip unnecessary chemicals and create a fresher, healthier product for you and your family.
5. Cost-Effective and Fresh:
Believe it or not, making your own cheese can also save you money — especially if you buy ingredients in bulk. Plus, homemade cheese stores well in the fridge for about one to two weeks, meaning you always have a fresh, delicious supply ready for your sandwiches, burgers, and recipes.

Ingredients and Tools You’ll Need for Homemade White American Cheese
Essential Ingredients for the Perfect White American Cheese
Crafting the perfect white American cheese at home starts with choosing the right ingredients. Every component plays a key role in creating that signature creamy texture, mild flavor, and incredible meltability. Here’s a breakdown of what you’ll need — and why each ingredient matters:
1. Sharp White Cheddar Cheese:
The heart of white American cheese is usually a high-quality, sharp white cheddar. It brings both flavor and body to the final product. Using sharp cheddar ensures your cheese has a fuller, richer taste while still maintaining the smoothness that makes American cheese so beloved. Look for a block of real white cheddar without any additives or anti-caking agents for the best results.
2. Whole Milk:
Milk is essential for achieving that soft, creamy consistency. Whole milk, with its higher fat content, is the best choice because it creates a smoother and more luscious cheese. Using lower-fat milk may result in a thinner or grainier texture, so sticking with whole milk helps guarantee a melt-in-your-mouth finish.
3. Unsalted Butter:
Butter adds extra creaminess and a subtle richness to the cheese. It also helps balance out the sharper notes of the cheddar, creating that mild, kid-friendly flavor profile that American cheese is known for. Unsalted butter is preferred so you can control the overall saltiness of the finished cheese.
4. Sodium Citrate (Emulsifier):
This is the “magic ingredient” that transforms natural cheese into a perfectly melty, smooth wonder. Sodium citrate acts as an emulsifier, meaning it helps the cheese and liquids (milk and butter) bind together without separating. Without it, your cheese might end up oily or grainy. It’s easy to find online or at specialty food stores and is essential for getting that classic American cheese texture.
5. Salt (Optional):
Depending on the sharpness of your cheddar and your personal taste preferences, you might want to add a pinch of salt to round out the flavors. Always taste your cheese before adding extra salt, especially if your cheddar is already on the salty side.
6. Optional Flavor Additions:
If you want to get creative, you can infuse your homemade white American cheese with additional flavors. A pinch of paprika, a dash of garlic powder, or even a few finely diced jalapeños can add exciting new dimensions to your cheese without overpowering its classic taste.
Kitchen Tools to Make Your Cheese Smooth and Creamy
Making homemade white American cheese is a simple process, but having the right kitchen tools will make a big difference in the final texture and creaminess of your cheese. To achieve that perfectly smooth, melt-in-your-mouth consistency, here are the essential tools you’ll want to have on hand:
1. Double Boiler or Heatproof Bowl Over a Saucepan:
A double boiler setup is crucial for gently heating your cheese mixture without burning or curdling it. Slow, even heat helps the cheese melt uniformly and combine smoothly with the milk and butter. If you don’t have a dedicated double boiler, you can easily create one by placing a heatproof glass or metal bowl over a pot of simmering water. Just make sure the bottom of the bowl doesn’t touch the water.
2. Immersion Blender or Regular Blender:
Once your cheese is mostly melted, blending it helps achieve that ultra-creamy, velvety texture that makes white American cheese so irresistible. An immersion blender lets you puree the mixture right in the bowl or pot, making it super convenient. Alternatively, you can carefully transfer the mixture to a countertop blender for a few quick pulses until silky smooth.
3. Kitchen Thermometer:
Temperature control is key when working with cheese. You want the mixture to be hot enough to melt everything together but not so hot that it causes the proteins to separate, resulting in a gritty or greasy texture. Using a simple kitchen thermometer helps you monitor the heat — aiming for a temperature around 160–170°F (71–77°C) is ideal for smooth melting.
4. Silicone Spatula:
A flexible silicone spatula is perfect for gently stirring the cheese mixture as it heats. It helps you scrape down the sides of the bowl easily, ensuring nothing sticks or burns, and promotes even melting.
5. Fine Mesh Strainer (Optional):
If you want your homemade white American cheese to be absolutely flawless, you can strain it through a fine mesh sieve right after blending. This catches any tiny lumps or bits that didn’t fully melt, giving you the smoothest possible finished product — especially important if you’re using the cheese for delicate sauces or dips.
6. Mold or Container for Setting (Optional):
If you plan to form your cheese into slices or blocks, having a small loaf pan, silicone mold, or container ready will help you shape it neatly as it cools. Line the mold with parchment paper for easy removal later.
Choosing the Best Milk and Cheese for Melting
When it comes to making the perfect white American cheese, the quality of your milk and cheese directly impacts the smoothness, flavor, and melting ability of your final product. Not all dairy products are created equal, and picking the right ones will help you achieve that creamy, stretchy, mouthwatering texture that makes homemade American cheese so special.
1. Whole Milk for Ultimate Creaminess:
For the best results, always opt for whole milk. Its higher fat content provides the necessary richness and creaminess that low-fat or skim milk simply can’t match. Fat helps emulsify the cheese mixture and prevents separation during melting. If you want your cheese to have a luscious, silky finish (especially important when making cheese slices for sandwiches or melting cheese for burgers), whole milk is the way to go. Avoid ultra-pasteurized milk if possible, as it can sometimes interfere with the melting process.
2. High-Quality White Cheddar Cheese:
Your choice of cheddar cheese forms the backbone of the flavor. Look for a sharp white cheddar that’s natural, without anti-caking agents or preservatives. Sharp cheddar brings a bold, tangy flavor that balances beautifully with the creaminess of the other ingredients. Milder cheddar can work too if you prefer a softer, subtler taste — but sharper varieties generally give homemade white American cheese more character and depth.
3. Fresh Cheese Curds (Optional Upgrade):
If you can find fresh cheese curds, they make an excellent addition to your recipe. Cheese curds melt beautifully and lend a super-smooth texture to the final cheese. They’re often used in professional kitchens for their purity and excellent meltability.
4. Avoid Pre-Shredded Cheese:
Although it’s convenient, pre-shredded cheese usually contains anti-caking agents like potato starch or cellulose. These additives can cause the cheese to melt unevenly or make the final product grainy. Instead, buy a block of fresh white cheddar and shred it yourself for the cleanest melt and the most authentic flavor.
5. Bonus Tips for Perfect Melting:
- Room Temperature Ingredients: Bringing your milk, butter, and cheese to room temperature before cooking helps them blend together more smoothly.
- Consistent Stirring: Gentle and consistent stirring while heating will help maintain an even temperature, preventing lumps or burning.
- Use of Sodium Citrate: Don’t forget the emulsifier (sodium citrate) — it binds the fat and moisture together, ensuring your cheese melts smoothly instead of turning oily or gritty.
Choosing the right milk and cheese isn’t just a small detail — it’s the secret to making a homemade white American cheese that melts like a dream and tastes better than anything you can buy at the grocery store.
Step-by-Step Guide to Making the Perfect White American Cheese at Home
Preparing the Cheese Mixture
Once you’ve gathered all your high-quality ingredients, it’s time to move on to one of the most important steps in making white American cheese: preparing the cheese mixture. Getting this step right will ensure your cheese turns out ultra-smooth, perfectly melty, and full of rich, creamy flavor.
1. Set Up a Double Boiler:
Start by setting up your double boiler. If you don’t have one, you can simply place a heatproof bowl over a saucepan filled with a few inches of simmering water. This method gently heats the ingredients without direct contact with the flame, helping prevent scorching or curdling. Keep the water at a gentle simmer — not a rolling boil — for better control.
2. Combine the Ingredients:
In the top part of the double boiler (or your heatproof bowl), add your shredded white cheddar cheese, whole milk, butter, and sodium citrate. It’s best to start with the sodium citrate dissolved in the milk first, then gradually add in the shredded cheese and butter. The sodium citrate acts as an emulsifier, ensuring the fat and moisture blend together seamlessly, creating that luxurious, silky texture.
3. Heat Slowly and Stir Constantly:
As the mixture heats, gently stir it with a silicone spatula or wooden spoon. Stirring frequently encourages even melting and prevents the cheese from clumping or separating. Be patient — rushing this step with high heat can cause the cheese proteins to seize up and result in a gritty or oily final product.
4. Monitor the Temperature:
Using a kitchen thermometer, aim to keep the mixture between 160°F and 170°F (71°C to 77°C). Staying within this range ensures the cheese melts properly without breaking. If the mixture gets too hot, it could become greasy; too cool, and it might not fully emulsify.
5. Blend for Ultra-Creaminess (Optional but Recommended):
For the smoothest possible texture, once all the ingredients have melted and combined, use an immersion blender to briefly blend the cheese mixture until it’s completely silky and lump-free. If you don’t have an immersion blender, carefully transfer the mixture to a countertop blender and pulse a few times. Blending gives your homemade white American cheese that professional, perfectly smooth finish.
6. Pour and Set (If Making a Block):
If you plan to mold your cheese into slices or a block, pour the warm mixture into a parchment-lined loaf pan or container. Tap the container lightly on the counter to remove any air bubbles, then refrigerate for a few hours until firm. Once set, you can slice, shred, or melt it however you like!
Cooking and Melting for the Ideal Texture
Achieving that iconic smooth, creamy, and perfectly melty texture in white American cheese is all about how you cook and melt the ingredients. This is the stage where patience and gentle handling truly pay off. Rushing the process or overheating can cause the cheese to become grainy, greasy, or rubbery — but with the right techniques, you’ll end up with that dreamy, melt-in-your-mouth finish that defines great American cheese.
1. Gentle, Low-Heat Cooking is Key:
The number one rule when cooking your cheese mixture is to use low, steady heat. A double boiler setup (or a heatproof bowl over simmering water) helps distribute heat evenly without exposing the cheese to direct flames. Too much heat too quickly can cause the proteins in the cheese to tighten up, squeezing out fat and moisture and resulting in an unpleasant, clumpy texture. Slow and steady wins the race when it comes to melting dairy properly.
2. Constant, Gentle Stirring:
As the mixture warms, stir it frequently with a silicone spatula or wooden spoon. Stirring encourages even melting, helps prevent hot spots, and keeps the fat and moisture evenly distributed. Be gentle — you don’t want to beat the mixture aggressively, just guide it along as it melts into a unified, creamy consistency.
3. Keep an Eye on Temperature:
Ideally, your cheese mixture should stay between 160°F and 170°F (71°C to 77°C) throughout the cooking process. Use a kitchen thermometer to monitor it closely. Staying within this range allows the cheese to melt smoothly while preventing the proteins from separating or becoming tough. If you notice the temperature creeping higher, lower the heat immediately.
4. Emulsification Happens Gradually:
Thanks to the presence of sodium citrate, your cheese mixture will emulsify — meaning the fats and liquids will bind together instead of separating. You’ll notice the mixture slowly transitioning from a lumpy, semi-melted state into a glossy, creamy sauce. This transformation is your sign that things are working correctly, so keep the heat gentle and continue stirring patiently.
5. Optional Blending for Ultimate Smoothness:
For the smoothest, most professional finish, once your cheese is fully melted and combined, you can blend it briefly with an immersion blender. This step breaks up any lingering lumps and creates a silky, pourable cheese that’s perfect for molding, slicing, or pouring over burgers and vegetables.
6. Don’t Overcook:
Once your mixture is smooth and fully melted, it’s ready! Continuing to cook it longer than necessary can lead to over-thickening or a greasy separation. If you’re planning to mold your cheese, now’s the time to pour it into your prepared container before it begins to firm up.
Storing and Using Your Homemade American Cheese
After you’ve mastered the art of making creamy, delicious white American cheese at home, it’s important to know how to properly store it and make the most out of it in your everyday cooking. Good storage not only extends the shelf life but also preserves the amazing flavor and texture you worked so hard to create. Here’s how to keep your cheese fresh and how to use it in the most mouthwatering ways.
1. Proper Storage Techniques:
Once your homemade cheese has cooled and set, wrap it tightly in parchment paper or wax paper first. Then place it inside an airtight container or a resealable plastic bag. This double-layer method protects the cheese from drying out while allowing it to breathe slightly — preventing unwanted moisture buildup that could lead to spoilage.
Store your white American cheese in the refrigerator, ideally in the cheese drawer or a slightly warmer section, where temperatures are more stable. Properly wrapped and stored, your homemade cheese should stay fresh for about 1 to 2 weeks.
2. Can You Freeze Homemade American Cheese?
Yes, you can! If you want to extend its life even further, homemade white American cheese can be frozen. Simply wrap it tightly in plastic wrap, followed by aluminum foil, and place it in a freezer-safe bag. Label it with the date, and it will stay good for up to 2 months.
When you’re ready to use it, thaw the cheese slowly in the refrigerator overnight. Keep in mind that while freezing might slightly affect the texture (it can become a bit crumbly), it’s still perfectly usable for melting into sauces, grilled cheese sandwiches, or casseroles.
3. Best Ways to Use Homemade White American Cheese:
Homemade white American cheese is incredibly versatile. Here are some of the best ways to enjoy it:
- Melty Grilled Cheese Sandwiches:
Layer thick slices of your homemade cheese between buttery bread and grill it to golden perfection for a gooey, nostalgic comfort food experience. - Cheeseburgers:
Top a juicy burger patty with a generous slice of homemade white American cheese and watch it melt into a creamy, savory blanket that ties the whole burger together. - Macaroni and Cheese:
Melt your cheese into a simple cream sauce for an ultra-smooth, decadent macaroni and cheese that blows boxed versions out of the water. - Cheese Sauces and Dips:
Use your homemade cheese to create velvety cheese sauces for nachos, soft pretzels, or roasted vegetables. - Breakfast Sandwiches and Omelets:
Melt slices into egg sandwiches, wraps, or fluffy omelets for a rich, creamy boost of flavor.
4. Tips for Melting Stored Cheese:
When reusing refrigerated homemade cheese, you might notice it firms up more than commercial processed cheese. To melt it smoothly again, shred or slice it thinly and heat it gently over low heat, adding a splash of milk or cream if needed to restore its silky texture.
By storing your homemade white American cheese properly and knowing all the delicious ways to use it, you can make sure every bite is just as creamy, melty, and flavorful as when it was freshly made.
Conclusion
Making your own white American cheese at home might seem intimidating at first, but with the right ingredients, tools, and a little patience, it’s absolutely achievable — and incredibly rewarding. By choosing quality milk and cheese, carefully preparing and melting your mixture, and storing it properly, you can create a creamy, smooth, and flavorful cheese that’s far superior to anything store-bought.
Homemade white American cheese isn’t just delicious — it’s also free of unnecessary preservatives and customizable to your taste. Whether you’re layering it into sandwiches, melting it over burgers, or whipping up a silky cheese sauce, the possibilities are endless.
So why not give it a try? With this guide in hand, you’ll be amazed at just how easy (and satisfying) it is to make your own batch of perfect white American cheese from scratch. Happy cheesemaking!